Instagram is one of the leading and most popular social media platforms in the world. With about one billion users on its platform it would be challenging to find someone who isn’t using Instagram.
This famous photo and video sharing app has changed how we view the world and, specifically, the travel industry. No matter where you go in the world, you are bound to see people trying to get an “Instagram-worthy” photo. The beautiful destinations of the world have seen a rise in tourism from those who are looking for a location they found on Instagram.
Whether you are a business, content creator, or have a personal page, having a nice looking, or curated Instagram feed has become the standard in today’s world. Everyone from private users to big brands has perfectly matching 9×9 grids on their profile, and every photo looks like it was professionally taken.
You don’t have to be a professional photographer to get those fantastic Instagram-worthy travel photos, they can easily be taken by yourself with your mobile phone! In this article, we will tell you some tips and tricks on taking Instagram-worthy travel pictures without the use of a DSLR camera or expensive equipment.
Instagram Travel Pictures Gear
Tripods
Upgrading your current gear can help elevate the photos you take, and it doesn’t have to cost as much as you would think. A simple tripod designed to hold mobile phones can help you take better photos, especially if you are traveling solo. A tripod can stabilize your phone for you and allow you to take stable photos and videos.
Tripods are available in all sizes and price ranges, but you don’t need to search for fancier ones for mobile photography. Many online retailers sell quality tripods for mobile photography at a fraction of the cost of a DSLR tripod. They are perfect for taking on any journey as they fold up to be relatively small and can easily fit into a backpack.
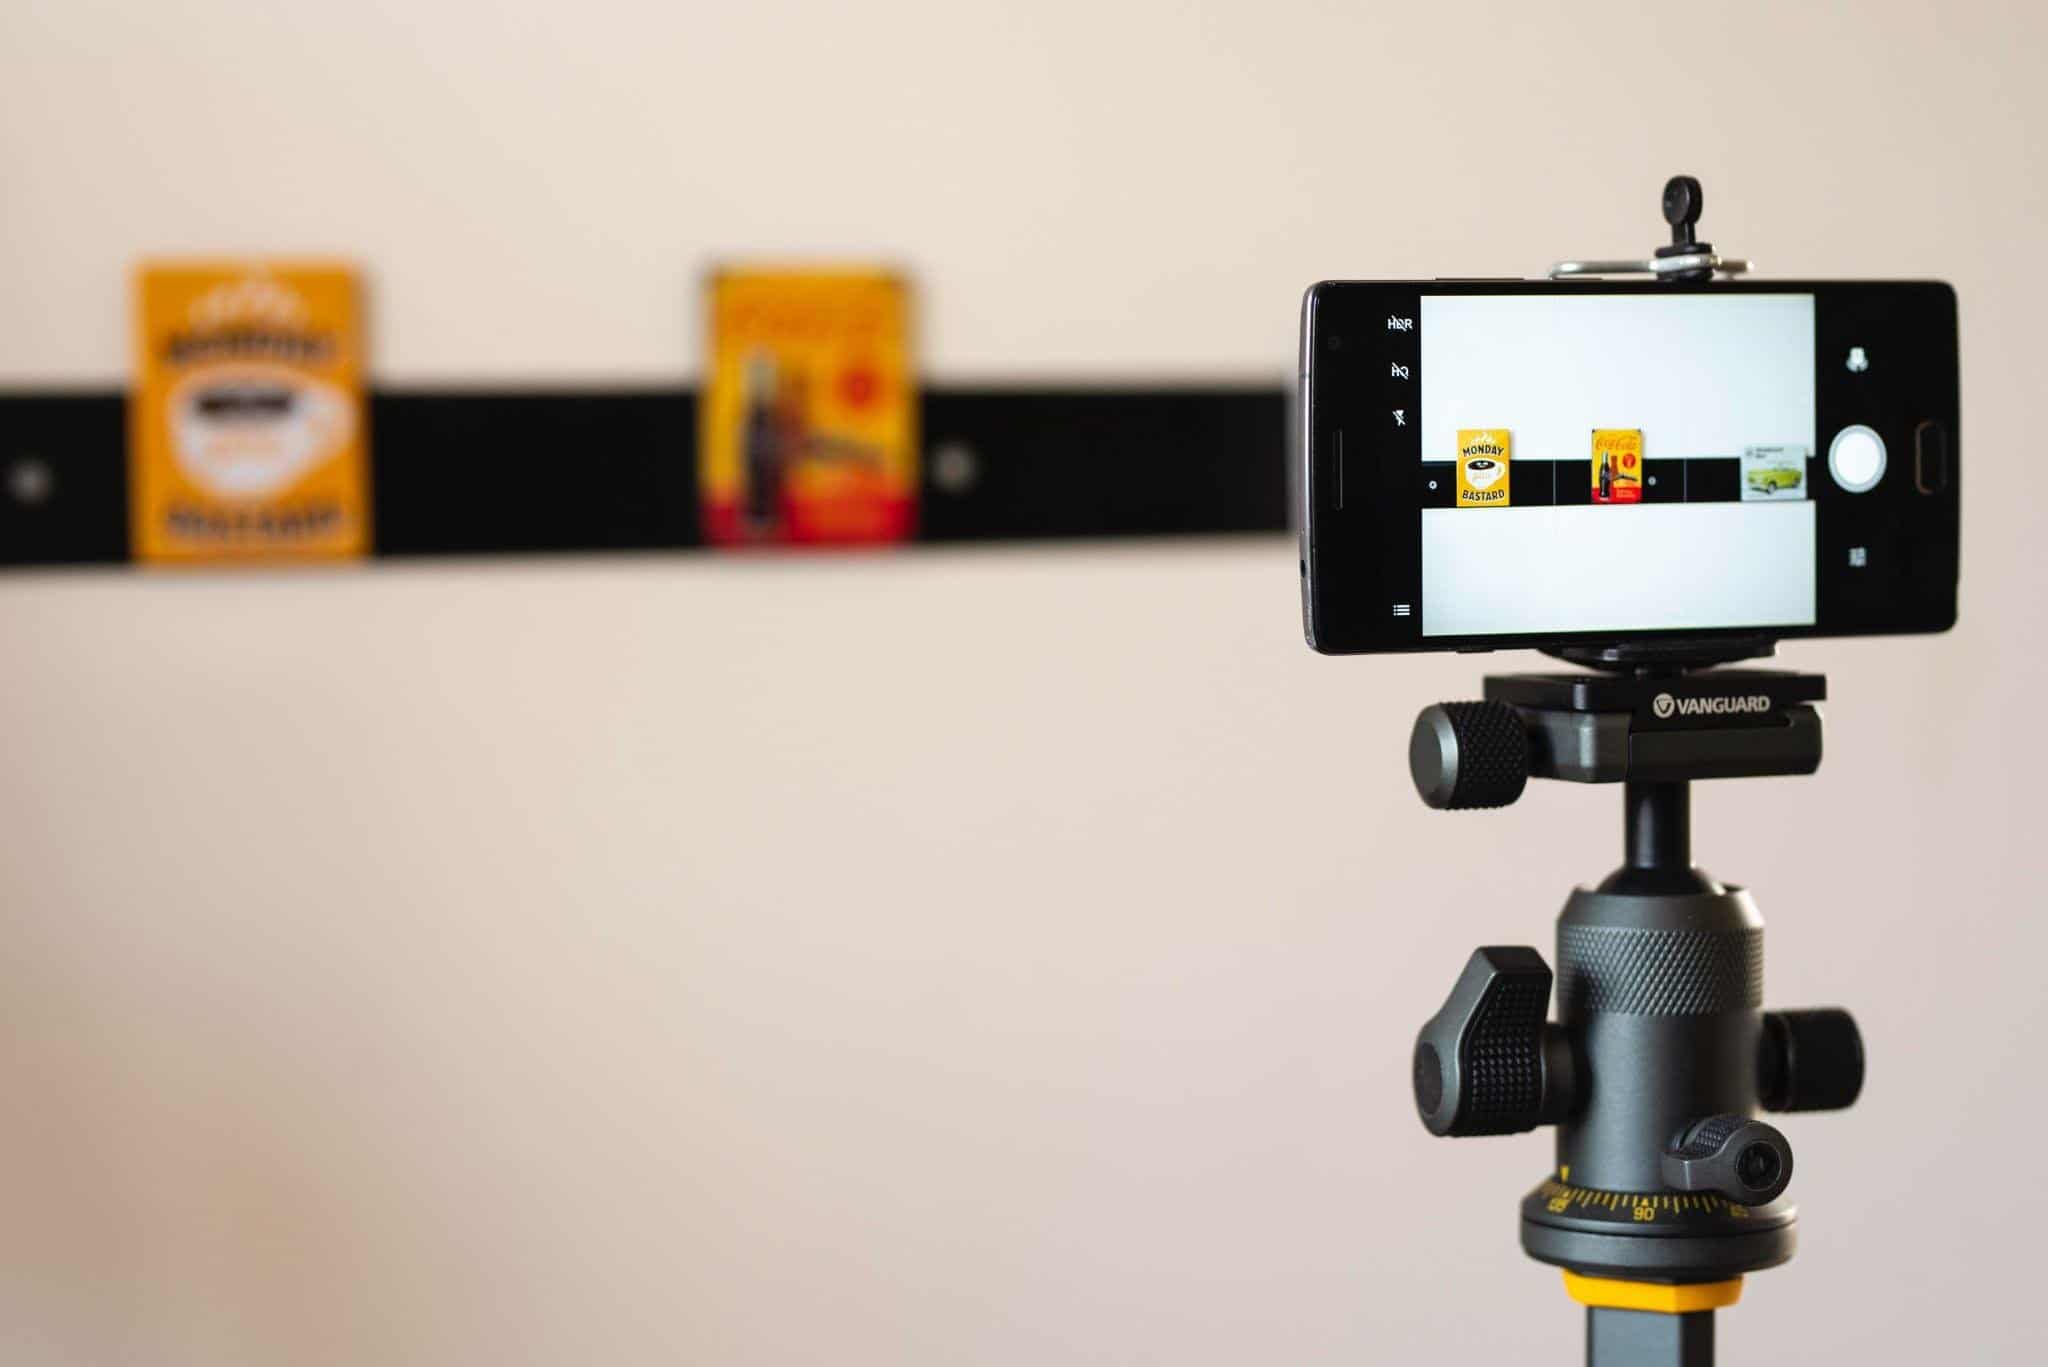
Image via Unsplash
Bluetooth Remotes
Another piece of equipment that comes in very handy is a Bluetooth remote. With a Bluetooth remote, you can sync it to your mobile device (both Apple and Android) and take pictures from a distance. This eliminates having to run and pose while using a 10-second timer. Bluetooth remotes are often tiny, making them very easy to hide while posing for your photo!
If you do not want to purchase any equipment, you can always prop your phone up on a bag, ledge, or book and use the 10-second timer to take some photos. You can also set up your phone and take a video, and then when you are done, go back and screenshot the frames or poses you like the most.
Best Apps for Instagram Travel Pictures
Many apps can help you take better pictures, but it’s best to save storage space by only downloading the apps you really need. Instagram itself is a great tool when it comes to taking your own travel photos. Using the search function on the explore page, you can search your destination and look through relevant hashtags or geotags for pictures of other people who have traveled there.
Not only can you connect with these users and ask questions, but you can use the geotag to find the exact location that you want to see. Using the save feature, you can also create a folder on your account of places where you want to take photos.
Lightroom
It can be overwhelming to decide which photo editing tool to use, and if you ask your friends, they will all tell you a different app to use. Some photo editing apps require you to purchase them before downloading, and they can be complicated to use. Adobe Lightroom for mobile is not only free, but it is also easy to use. It frequently comes up on tech websites as one of the best free photo editors.
Lightroom allows you to upload your photos straight from your mobile phone, edit them and redownload the revised version. In Lightroom, you can play around with its editing tools like crop, lighting, color, sharpness, and more. It does have a paid version with more perks that are best suited if you are already comfortable using Lightroom. These paid tools like healing and masking allow you to remove blemishes or edit out unwanted people and edit only certain aspects of your photo, like the subject or background.
If you find that Lightroom is not for you, you can check out this list of other awesome editing apps that can help you create the best travel images.
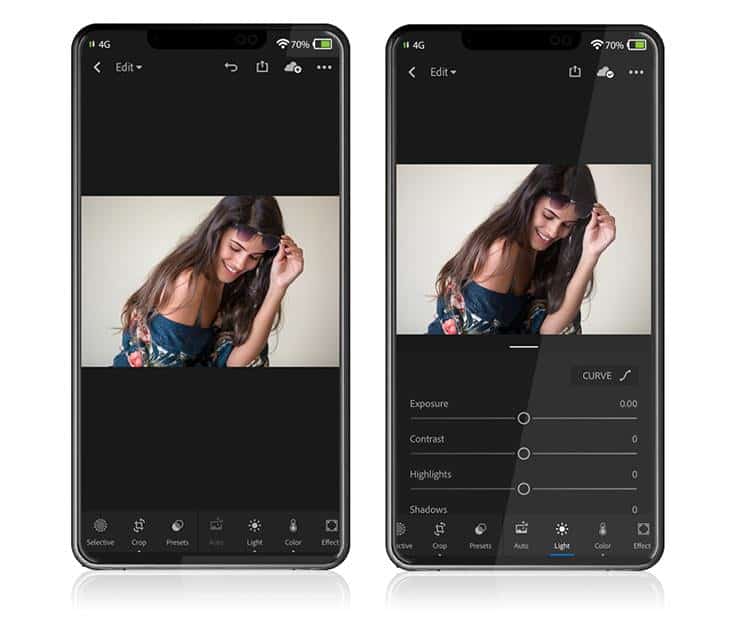
Image via Lightroomkillertips
Google is an excellent tool for travelers with some great functions like maps, offline maps, flights, and search. By creating a Google account, you can download maps offline so you can easily find your way around a new country. You can also make your own map with various pins and labels for areas you might want to visit. After you have used Instagram to research where you want to go, it is great to put all of those locations on a google map so that you can easily find them on the go.
Google flights can also help you to find cheap flights, which is essential when you are traveling to multiple destinations or just looking for the best deal. You can look at their price graph and see when flights are usually cheaper for specific destinations.
Photography Tips for Instagram Travel Pictures
Live Photo Mode
Learning the basics of photography can really help take your photos up a notch. There are simple tricks for Android and iPhone users to help improve your photos. For iPhone users, Live Photo mode is a great function to keep on while taking your photos. Live photo mode actually takes a 1-second video when you click the shutter button. This allows you to go back and edit the image and pick the frame you liked the best-no more issues with blinking!
For android users, you can download one of three external apps to help you take live photos as an iPhone user would. Those apps are Motion Stills, Samsung Motion Photo, or Camera MX.
The Rule of Thirds
The rule of thirds is one of the first photography techniques that are taught in photography classes. Essentially the rule is to divide your screen into nine equal sections (three across and three down). Most phones have a setting where you can turn this grid on to show up on your screen.
The rule of thirds helps you to compose your photo correctly. The subject or focal point of your image should fall on one of the four cross-sections of the middle square. This helps to draw the viewer’s eye in and balance the negative space and subject space.
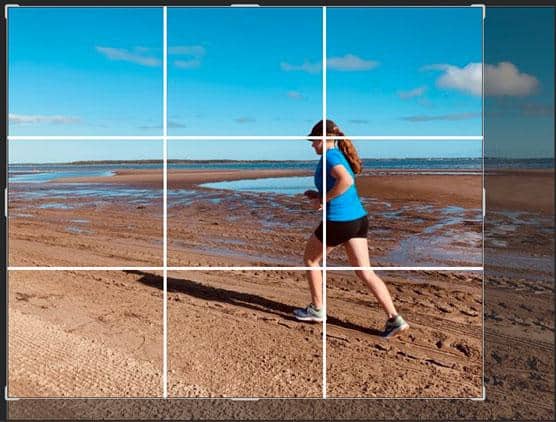
Image via Dummies
Lighting
Proper lighting can make or break your photos. Harsh lighting can overexpose your pictures and make them too bright (which is very hard to fix in editing), and low light can underexpose your photos, making them too dark (which is easier to fix but might not look natural). The best lighting is a soft natural light.
There’s a reason photographers chase sunrises, sunsets, and cloudy days. These give you great natural lighting for your photos that aren’t too harsh. The golden hour is approximately one hour after the sun rises and one hour before it sets. This timing will give your photos a soft natural glow. Don’t worry if you can’t make it for golden hour, a cloudy day at any time can also help block some of the harsh sunlight.
If you can’t catch a break from the lighting, you can always try sitting in a shaded area to help block some of the direct sunlight. It is best to avoid taking photos at high noon or when your back is towards the sun, as this can cause awkward shadows on your face or body that are hard to edit.
Focus
Having a photo come out looking blurry or not focused can be disheartening. Focusing on the subject of your photo is essential to taking good pictures. Some mobile phones have an autofocus function that detects the subject and focuses automatically. On Android, you can turn on Focus mode to help your photos stay focused. For iPhone users, you can tap and hold the subject of your photo to help lock the focus on one particular spot.
Angles and Leading Lines
Most tourists hold their phones at eye level and snap a picture. It is best to get creative with your angles to help show a new perspective of the same location. Placing your phone at a higher or lower angle can really change the look of your photos and give them a unique edge to help them stand out on Instagram.
Leading lines are lines found in the subject of your photo that help guide the viewer’s eye to the subject (think of a person standing in the middle of a highway). Using lines found at your destination can help create aesthetically pleasing photos. Some examples of leading lines that you can find while traveling are bridges, roads, railings, sidewalks, and railroad tracks.
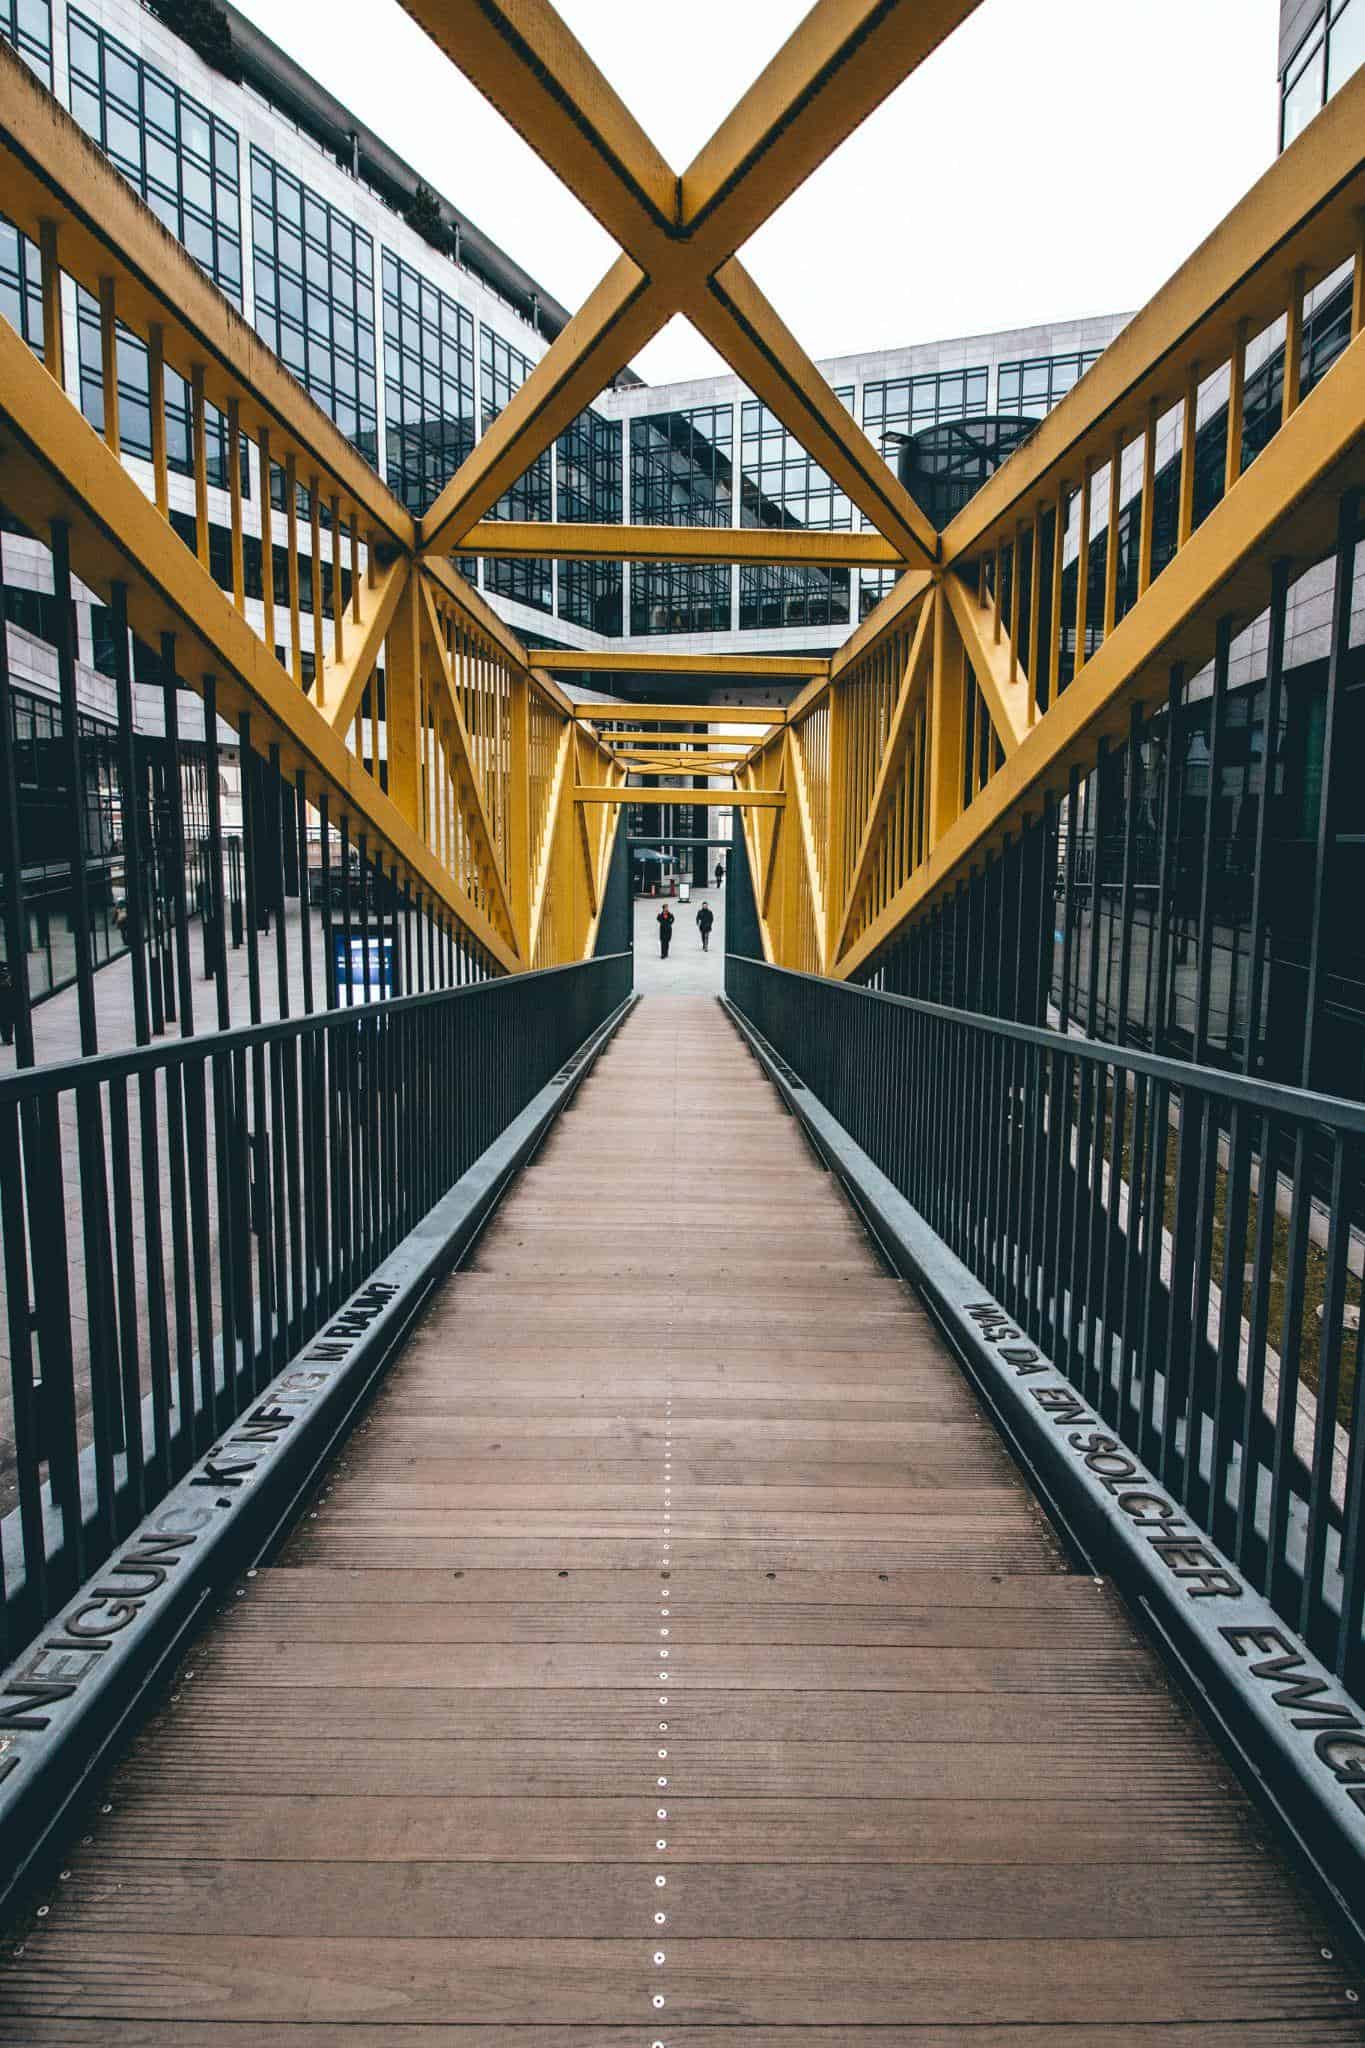
Image via Unsplash
Color Theory
Having a basic understanding of color theory can help make your pictures “pop”! Color theory was first established by Sir Issac Newton in 1666 and is a handy theory that is well known in photography.
Although color theory can get quite complicated, it is good to know about complementary colors. Complementary colors fall opposite each other on the color wheel (yellow and purple, blue and orange, and red and green). You can use certain colored clothes and accessories to give your photos a bright and put-together look. For example, if you visit a bright blue glacial lake, wearing an orange jacket can make the photo more appealing and colorful.
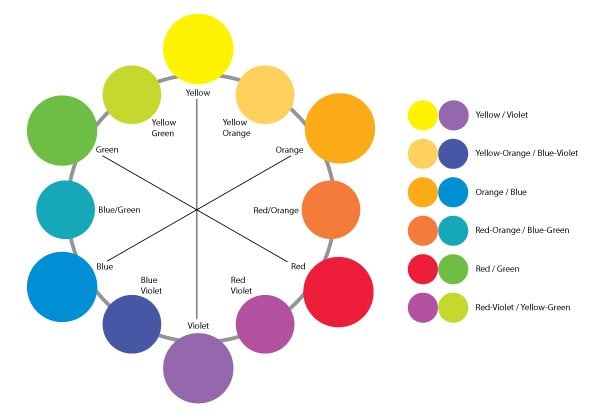
Image via Springleafstudios
Preparing Your Instagram Travel Pictures for Sharing
Instagram Aesthetic
You might be hearing this new buzzword “aesthetic” around the internet. Having an Instagram aesthetic means a theme or style that specifically reflects you. It is good to think about what kind of aesthetic you would like your page to have.
Do you like to take photos of luxury vacations? Adding photos with many soft whites, blues, and neutrals or photos of luxurious villas and beaches can help you achieve this. Or maybe you prefer romantic holidays theme? Practice posing with your partner and see what other couples are doing to attain the effect that you want.
You can also use Instagram to help you define your aesthetic by looking at what other users and brands are doing. You can figure out what you want your page to look like!
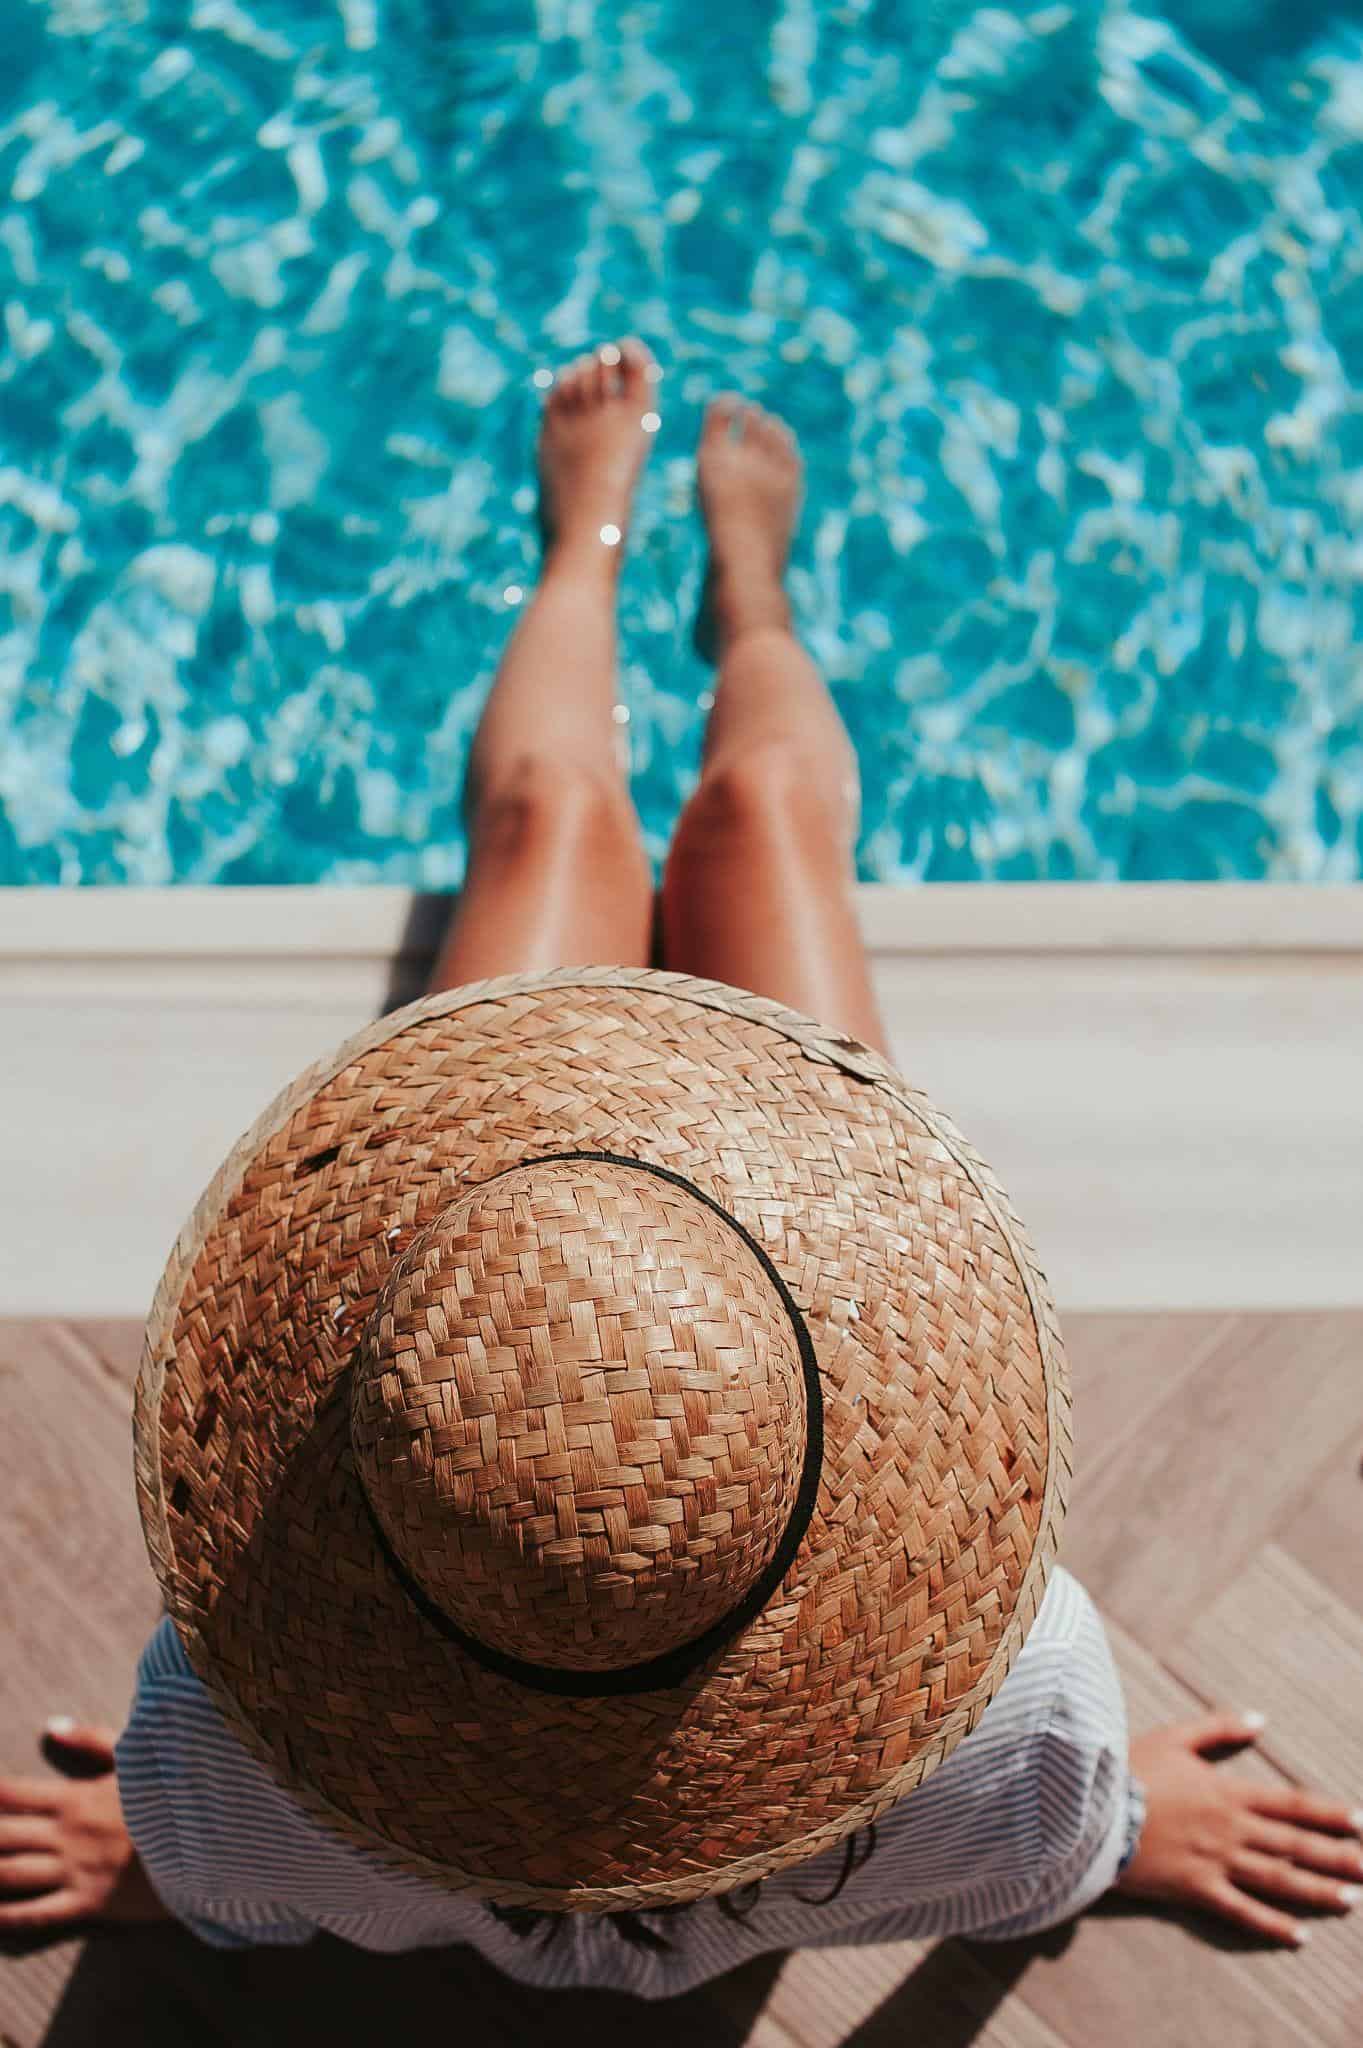
Image via Unsplash
Practice Posing
Taking photos in public can be nerve-racking and a huge barrier for solo travelers who want to take their own photos. Practicing poses that work for you at home before you go on vacation can really ease some of the stress of taking pictures in public. By practicing at home, you get to learn which poses work for you and which ones don’t. You can play around with different poses and get it right before taking public photos.
Practice Outside
Practice makes perfect! After you figure out which poses you like the best, it’s time to take it outside in a public location to practice posing in front of people. This can help eliminate some of the nerves before going on your big trip. Practicing around your home in a well-known location can help to put you at ease when posing and to take photos.
Some good locations to practice would be a park, hiking trail, tourist spots, library, or empty parking lot. All of this practice can help you with your photography tips and outfit planning as well!
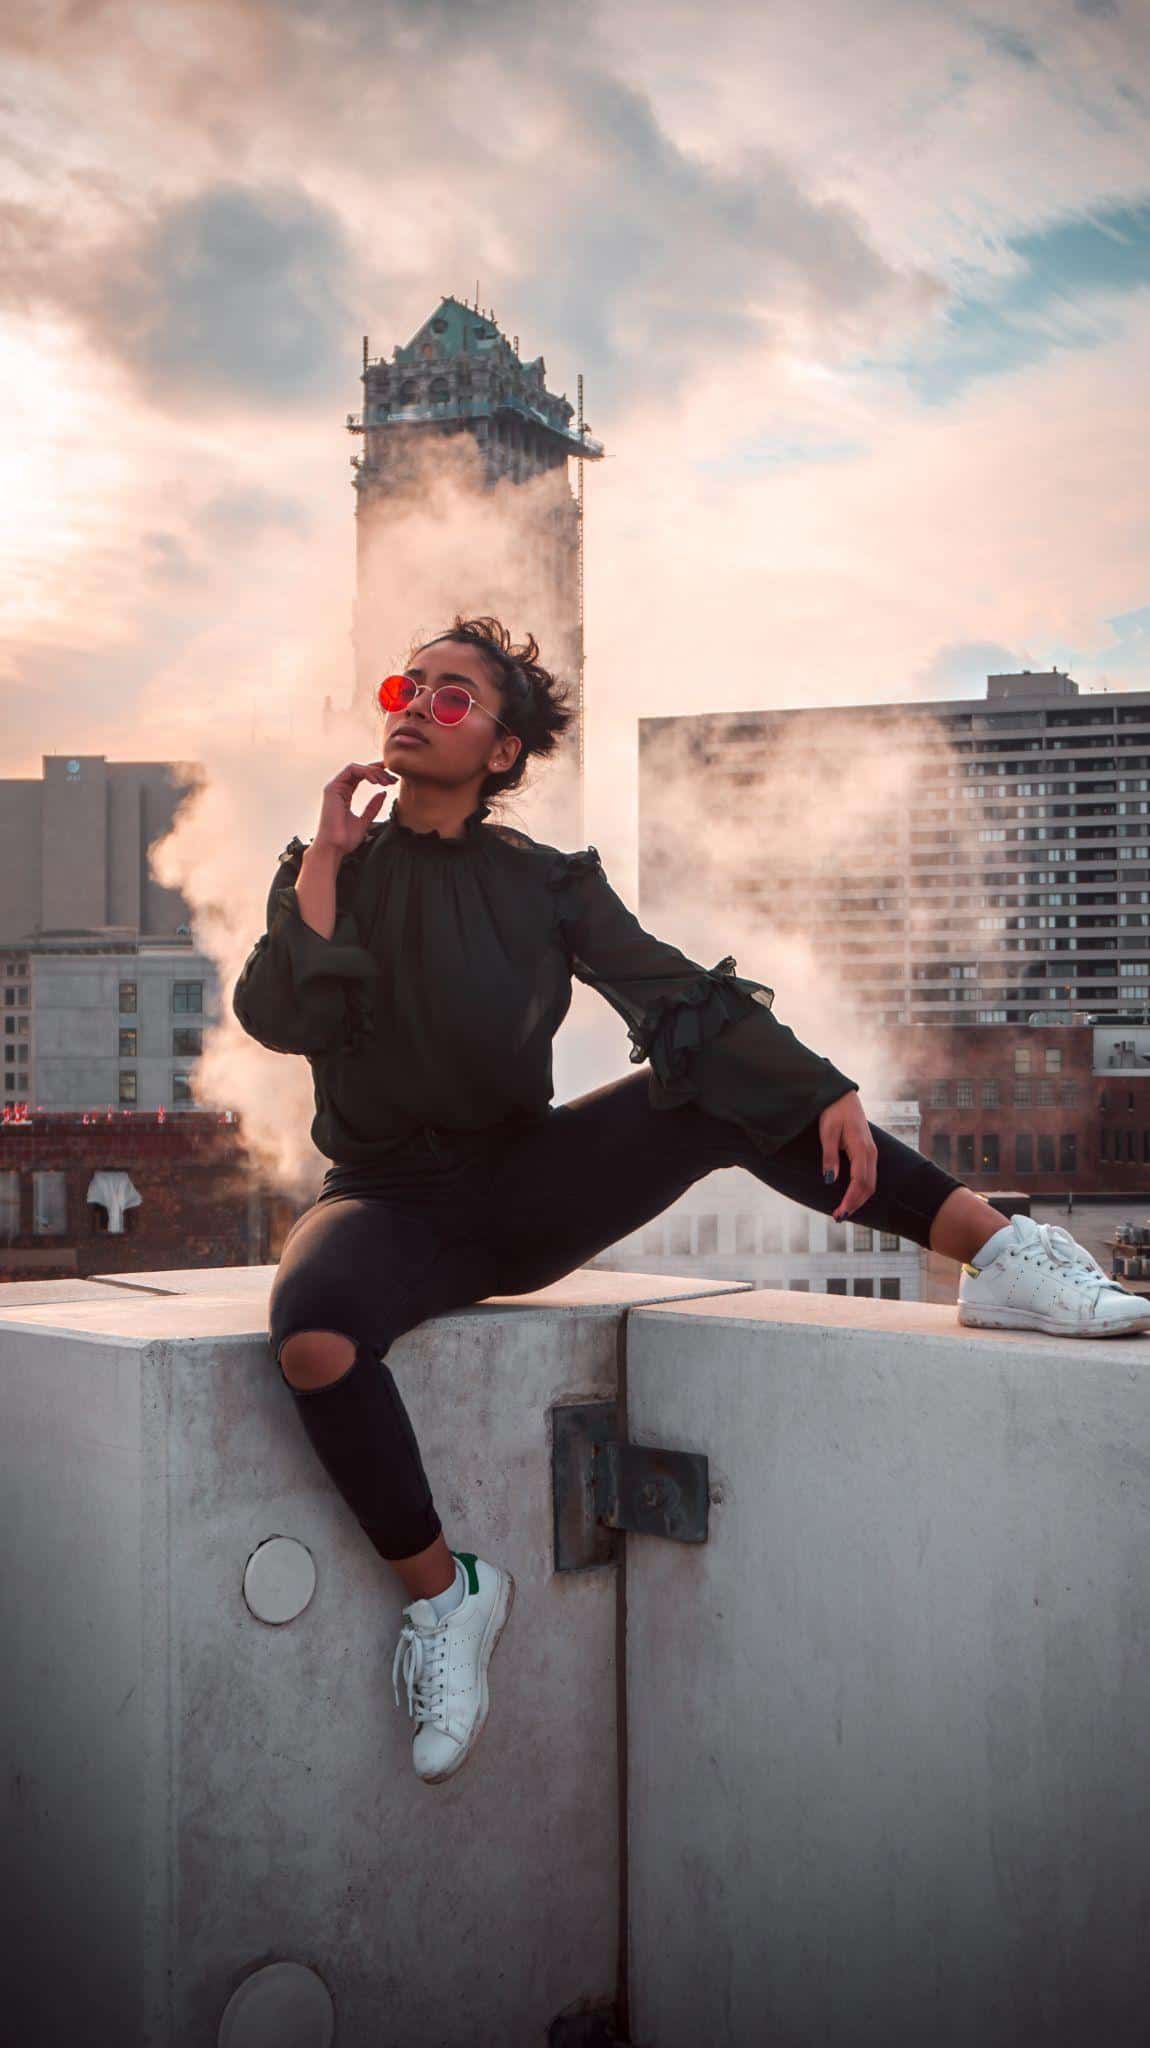
Image via Unsplash
Plan Your Packing
Traveling light is always the way to go, and planning what you pack based on the locations you want to see, the weather, and the customs of your destination can make packing easier. By knowing where you are going, you can plan and test out potential outfits for each day of your tip and only pack what you will actually wear!
You can pack a bit more if you’re going on a road trip (more shoes, jackets, hats, and accessories for your photo session!), just don’t forget the essentials. Make sure these must haves for road trips already covered before you start stuffing 10 different boots into your car.
Of course, the goal of posting your beautiful Instagram-worthy travel photos is for people to view them! If you are a brand or business, this is extremely important. It is essential to learn how to optimize your Instagram account to help get your content out there. Here is a great article that gives you all the tips on optimizing your social media accounts.

