The process to create social media graphics isn’t a difficult or complex one but can be a process in which you find yourself confused as to where to start, which tools to use and knowing if your image is ready to go live on social media.
Since we too have felt this struggle and understand how frustrating it can be, we decided that the best thing would be to create a short guide for how to prepare images for social media, images that will fit social media platforms as laid back as Facebook and Instagram and as formal as LinkedIn. So let’s jump into it.
Picking an image to create social media graphics
What if someone asks you how to create graphics for social media? If you expected us just to say, “either go use stock images or take the images yourself,” don’t worry, we won’t. That is something that you probably thought of already by yourself. What we are going to tell you is what to look for when looking for stock images and what you should aim for if you are going to take the images yourself.
Be daring
I think it’s safe to say that nobody finds generic-looking images all that interesting. They aren’t eye-catching or an accurate representation of the message you are trying to send. Your images should instead be something that will grab attention and spark interest, not something that a person doesn’t even notice while scrolling through the feed. You’ll stand out more when you can create some of the best infographic makers to create images for social media to share with your audience. You can create stunning infographics online, animated gifs, and surveys using Visme templates.
Leave something to the imagination

This is another way of sparking the interest of your audience on how to create social media graphics and is very useful for images used as thumbnails. Although you should avoid using clickbait, images that are open to interpretation and may even be a little cryptic will definitely make a person want to learn more.
Follow the basic rules of photography

This advice is geared towards the ones who decide on taking the images on their own but aren’t really that skilled at photography. Not being a skilled photographer won’t stop you from creating great images especially if you stick to some basic rules.
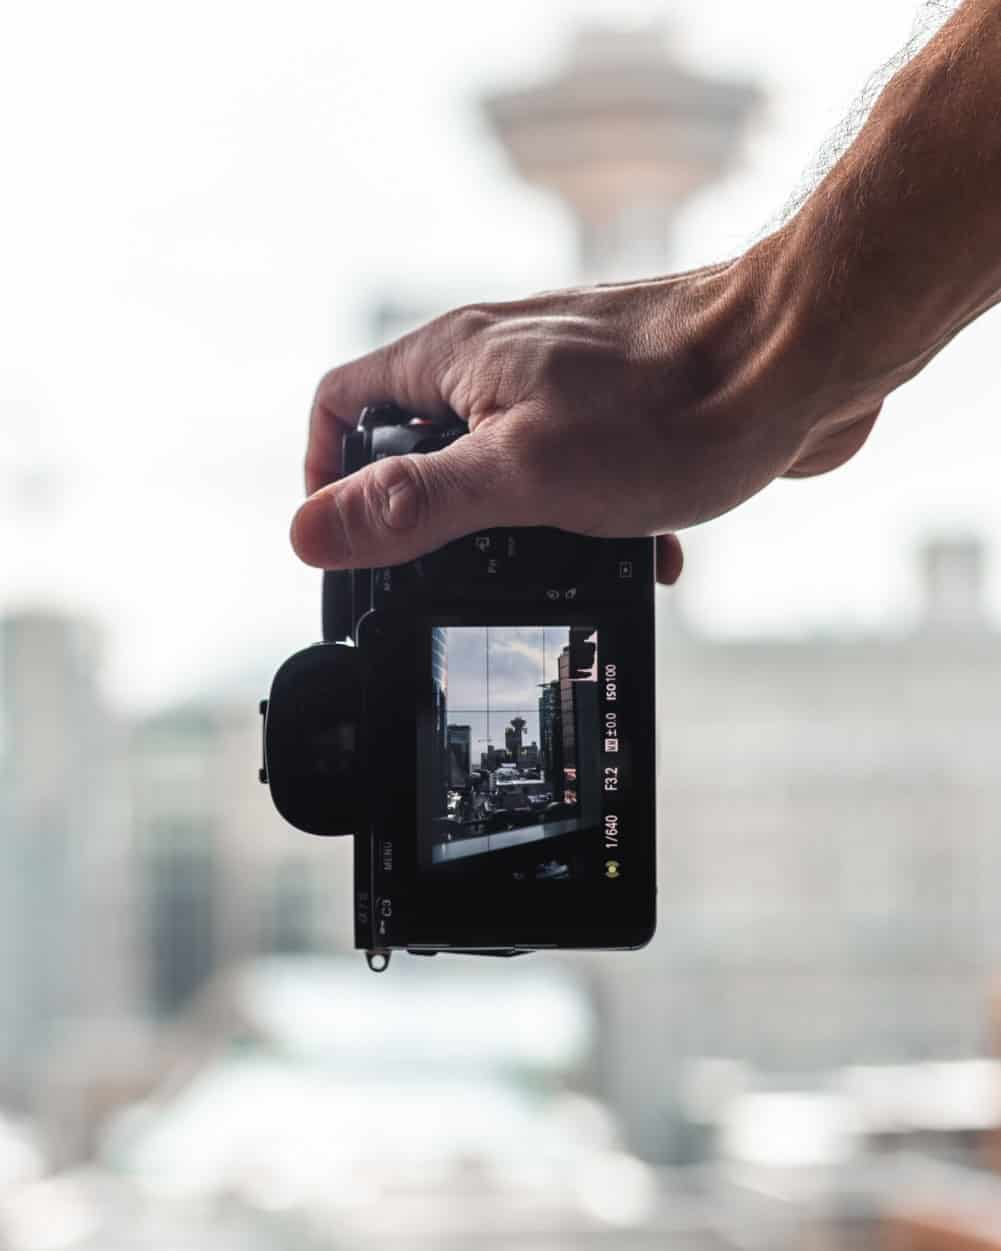
Some of the most common rules are using grids in order to fulfill the rule of the thirds, doing your best to achieve as much symmetry as possible, and making your image have just one but strong focal point.
Don’t settle for sub-par quality
There will be times when you find/take THE image but it’s quality just isn’t good enough. Rather than posting that image and disregarding the quality of your post, it’s better that you try and find/take a new one. Regardless of how perfect an image might be if its quality doesn’t cut it, your audience won’t like it or be able to appreciate it one bit, so why give them something that they don’t want to see.
Match your color palette with your vibe

Unless you decide on using only black and white images, the color palette of the image is another thing you should pay attention to. How much colors of an image can affect the way the image is received and the message it’s sending is remarkable and has been studied for decades now. That is why you should make sure that each image you post is in a color palette appropriate for the impression you want it to make. For example, warm tones for a friendly and welcoming impression, cool tones for a more formal impression, red for a show-stopping impression, and so on.
Stick with trends
Like everything, even social media images go through trends. For instance, a few years ago images with neon accents were all the rage, but in recent years more minimalistic images with non-overbearing colors are what is used and seen the most.
If you posted a neon-accented image nowadays it might seem a bit outdated and out of touch. So just when deciding on an image you are going to post, spend a bit of time checking if the image is one that fits the current trends and norm.
Make sure it looks equally as good on all screen sizes
This is something that shouldn’t even need to be mentioned in 2020, yet still, a lot of people don’t make sure that this criterion is fulfilled. An image in a specific pixel size might look great on a mobile phone, but disastrous on a desktop. For most people in your audience this is an unacceptable sight and because of it won’t give your post a second look. That’s why you always need to double-check if your image looks exactly as it should on every screen size before rushing to press that post button.
Editing the image
Finding the right image doesn’t mean that the image is social media ready, there are always a few tweaks you will have to make in order for here and there.
First, you’ll have to do some resizing so that the image can perfectly fit the post format of the social media platform you will be posting it to. Also, if the image is used as a thumbnail for a blog post, for example, even then there are some sizing rules that the image needs to be in accordance with.
Next comes the more creative part of editing the image and that is overlaying it with filters and adjusting its other visual properties such as sharpness, contrast, exposure, etc. This is the step that will make an image fit a specific vibe, enhance its best features and in general make it more visually appealing. A tip for using filters is that you should stick with one group of filters that are somewhat similar so that the feed your images make up looks fairly consistent.
You should also feel free to draw on the image and spruce it up with lines, frames, whichever decoration you see as fitting. Doing this is a good idea especially when using stock images because this way you are basically making your own rendition of the image.
Besides decorations, on your social media images, you can add titles and/or fairly short pieces of text. When putting text on your image, similar to what we said about filters, for the sake of consistency, it’s best you use one font or font family. Also, a fun idea for using text on your images is to make the text “play” with the image that serves as its background. This is a very easy way of adding a dash of creativity.
Image editing tools worth checking out
When it comes to editing images you really have a ton of tools to choose from, mobile, desktop and web tools. Here are a few we thought you might want to check out.
ResizeMyImage.com

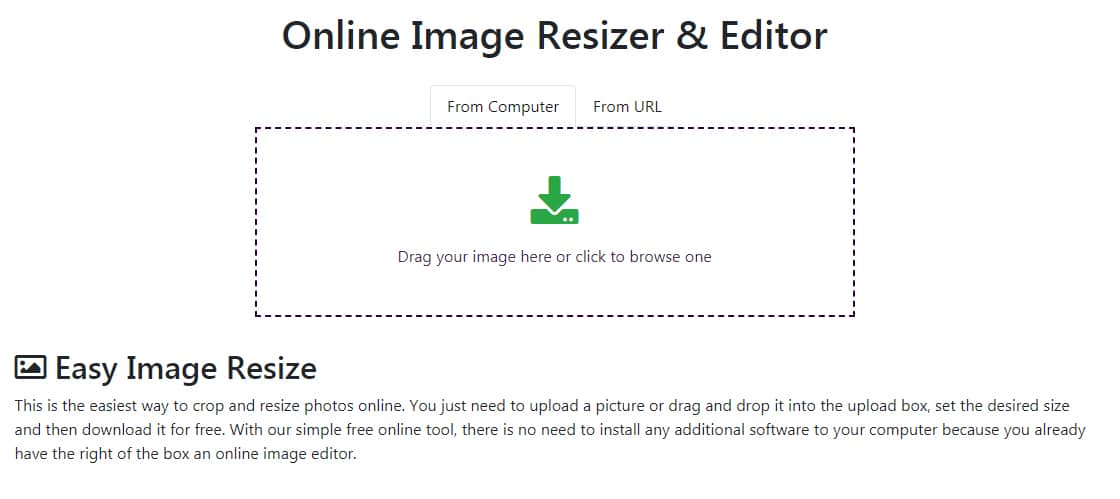
This is maybe the most straightforward and easy to use tool out there, plus it is absolutely free to use. An image is inserted into the tool by either drag and dropping it or using just one click. With ResizeMyImage you can flip and rotate an image and crop it freehand or in a certain aspect ratio. It can also resize your images to a specific size you set or to fit a social media image template for everything from profile photos and posts to ads and banners on any major social media platform. The more creative editing features of this tool are the “Picture paint” feature for adding drawings and custom watermarks, and the “Photo effects” feature that provides you with a ton of filters and effects that will give your image a unique look and feel.
Canva
Canva is another free web tool for image editing. Canva is a bit more complex than ResizeMyImage so it might not be as easy to use, but it’s definitely a great tool once you get the hang of it. It has a collection of interesting fonts and filters as well as templates which can be of great assistance if you are looking to create an image rather than just edit one. When looking for stock images, Canva can also be of great assistance since it has its own collection of over 1 million stock images free for you to use.
Instasize
If you want to keep your editing workflow light yet effective, try Instasize. The sliding controls are a delight to use and the collection of filters, collages, creative borders and text styles will help enhance your images in no time. Resizing your images to best fit your feed is also a breeze.
Over
If you prefer doing your editing on your phone rather than your PC, then this is the tool for you. Over is a mobile app available for Android and iOS and a very powerful image customization tool. It gives you access to loads of templates as well as fonts, filters, effects, decorative shapes and icons, and so much more. Like Canva it also has a collection of royalty-free images and even allows you to layer or mask your images seamlessly with a number of other images.
Final touches
When the image has been edited, the last thing left to do is to think of the captions and hashtags that will accompany the image on social media. Hashtags are what will give your image more exposure and what will group it with other related images and content. You can use your caption to share info and updates with your audience and encourage them to leave any feedback they might have. One thing to remember is that your captions and hashtags should be relevant to the image rather than putting them there just for the sake of having a caption and a few hashtags, a mistake a lot of people often make. So, I think all of you might be clear with the process of how to make social media graphics. Isn’t it?
Lastly, a word of advice on creating social media graphics
When you feel that an image is no longer relevant, or just not up to the current trends and standards, having it up is just a waste of space and really serves no purpose. That’s why it’s best to from time to time do some cleaning and delete images from your social media and website that might have run their course. On social media deleting is done post by post, on your own website you should be able to do the deleting in bulk. To do this on a WordPress site you can use a plugin called WP Reset that will delete all the unwanted images in seconds. Besides images, it can also delete, in bulk, posts, comments, even entire pages, basically everything that was added after the installation of WordPress. Cleaning up your social media and website will make them feel clean and fresh and will create room for new content to take the spotlight. A great practice that should be a standard in all places content is being published.
[starbox]

