It’s no secret that using images with your social media updates can increase your overall engagement. Whether it’s more social sharing or additional comments left, it’s a must to use social media images in your updates.
For those who are not designers, how can you create social media images with little effort and no cost?
If you are an entrepreneur, chances are you need to find an inexpensive way to get more out of your social media efforts. And when you can increase overall engagement, you will get more out of your social updates.
By all means, if you can afford or have the budget to pay someone more experienced to create your images to share on your social media accounts then you should do it. There’s even photo editing options that can take your images to the next level.
But, if you’re pressed for cash and aren’t an expert – there are options (revealed below).
No matter how you decide to create your social media images, wouldn’t you like to be able to use them more than once?
After all, it doesn’t make much sense to go through all the trouble of creating them only to use them one time.
Don’t worry, I’ll show you how to not only create social media images in minutes, but also how you can use them again and again.
In this post, I’m going to cover:
- The one tool that makes it easy to create social media images for the major social channels
- Two of my favorite websites to find not-so-cheesy images
- How you can use these images again and again on your evergreen social media updates automatically – without having to schedule them again and again
You’ll be able to crank out eye-catching social media images in less than 5 minutes from start to finish.
But more importantly, I’ll show you how to use these social images again and again.
Excited? Let’s dive in.
Must Have Tool For Creating Social Media Images
There’s no shortage when it comes to options for creating images for your social media posts. Among some of the most popular social media tools are Spruce, Pablo, and Snappa.
However, I have found that Canva works best for me.
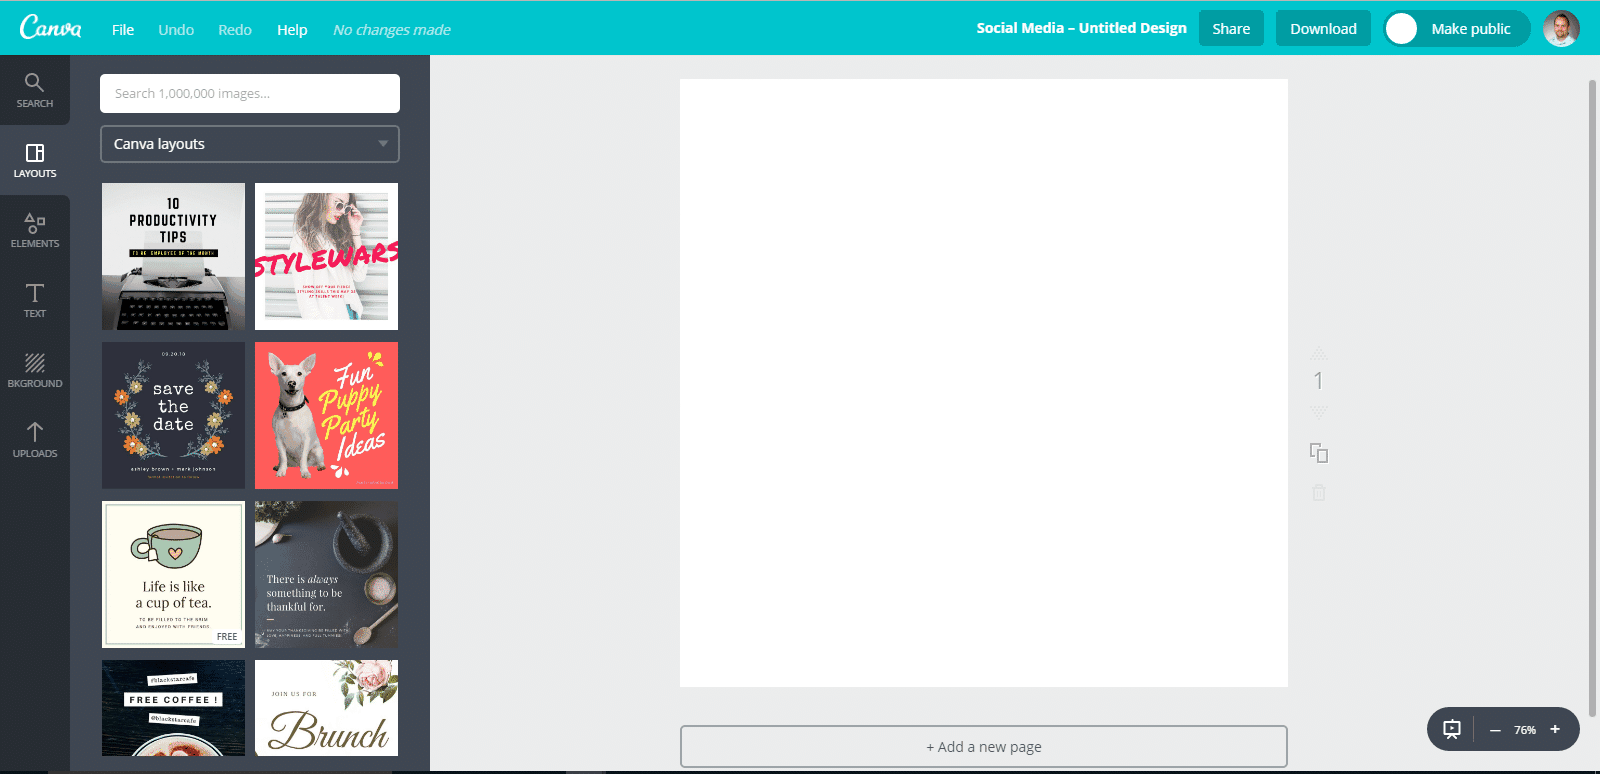
While there are plenty of great things about Canva, the key benefit here is that you can choose the social media image you want to create and it will give you a canvas to work with that is the ideal size for that social network.
No longer will you need to know what image sizes are needed for each social media channel. Here, you’ll just need to click on the network you want to create an image for and get to work.
Once the blank canvas has loaded, on the left you will see a variety of templates to choose from. These typically come pre-loaded with a background image and text blocks. No need to worry if you don’t like the image (or even the text), you can change all of it to your needs.
But before you decide whether or not to use a pre-made template or start from scratch, let’s take a look at some sites to find potential background images from.
Two Awesome Websites To Find Social Media Background Images
I’m a huge fan of evergreen social media updates.
If you are not familiar with evergreen updates – it’s essentially the same concept of evergreen blog content. Evergreen blog content is still relevant a year from now as it is today.
And evergreen social media content is also relevant a year from now just as it is today.
So it’s basically crafting social media updates that you can use again and again. When you use images in your evergreen updates, you can significantly increase overall engagement.
But one of the most important pieces of your social media image is the image itself. More times than not, it is what will catch the eye of someone skimming through their social media stream. If you aren’t standing out with your images to get clicks, your engagement will suffer.
Look, you don’t want to take the lame way out and settle for some lame-ass, cheesy stock photo. Do you?
Come on…you are better than that.
Instead, you need to use images that stand out from the plain images most others choose for their social media images.
So let’s take a look at some of my favorite free sites to find images for my social media updates.
Pixabay
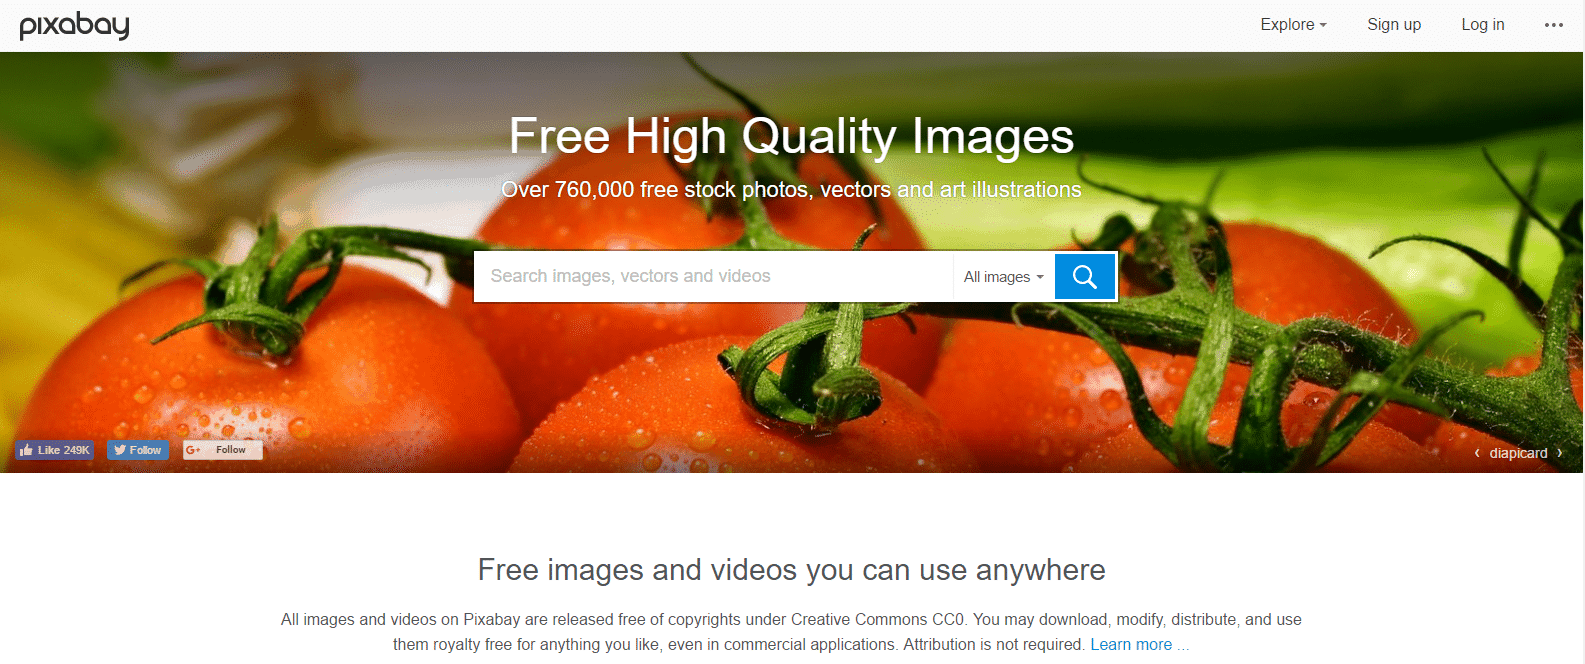
My go-to site for finding images is Pixabay.
The first thing you will see is that they boast having over 760,000+ images to choose from. Among them are stock photos, vector graphics, and even videos.
To get started, use the search bar to find images that relate to the topic of your blog post. Then, depending on your preference you can filter your search to show only photos or only illustrations.
Once you find the image of your choice, simply download it to your computer.
A great thing about Pixabay is that you don’t have to attribute the source of the image and are free to use them however you wish. Oh yeah, did I mention the images are free?
Should I struggle to find a suitable image for my social media update, I move on to my next favorite site.
Pexels
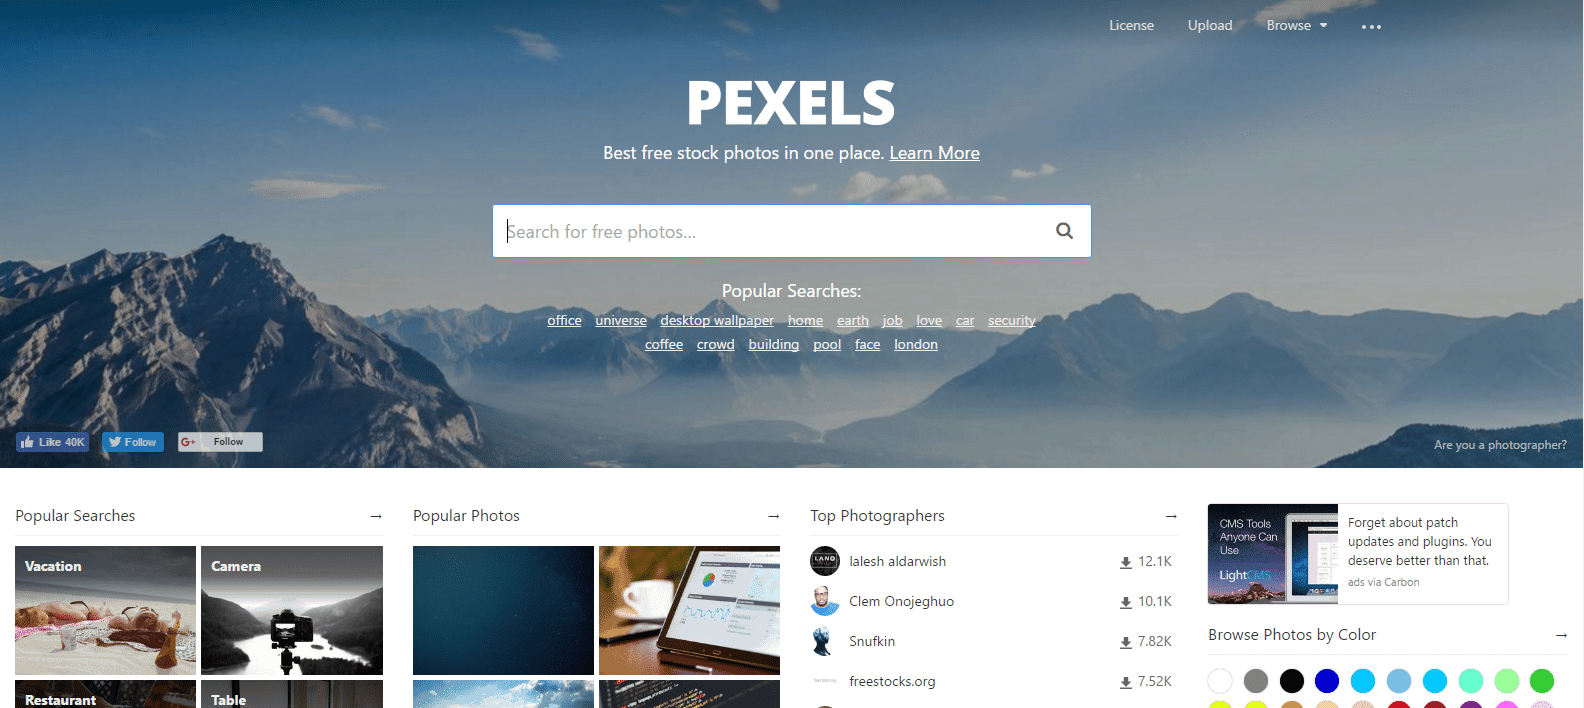
Pexels is another site with a huge database of images. Similar to Pixabay, Pexels does not require any attribution for use of images and is also free to use.
As in the previous example, simply start a search for images that may relate to your blog post and see what comes up. Once you have identified the image you would like to use, download it to your computer.
What I really enjoy about this site is that the majority of the images are tastefully done – and not at all cheesy as most stock image sites are.
How to Create Awesome Social Media Images
After you have found the main image you would like to use, it’s time to head back over to Canva and select the social channel you want to create the image for.
Once your empty canvas has loaded up, you can add elements yourself to it or build off of a pre-made template.
Using a Pre-made Template
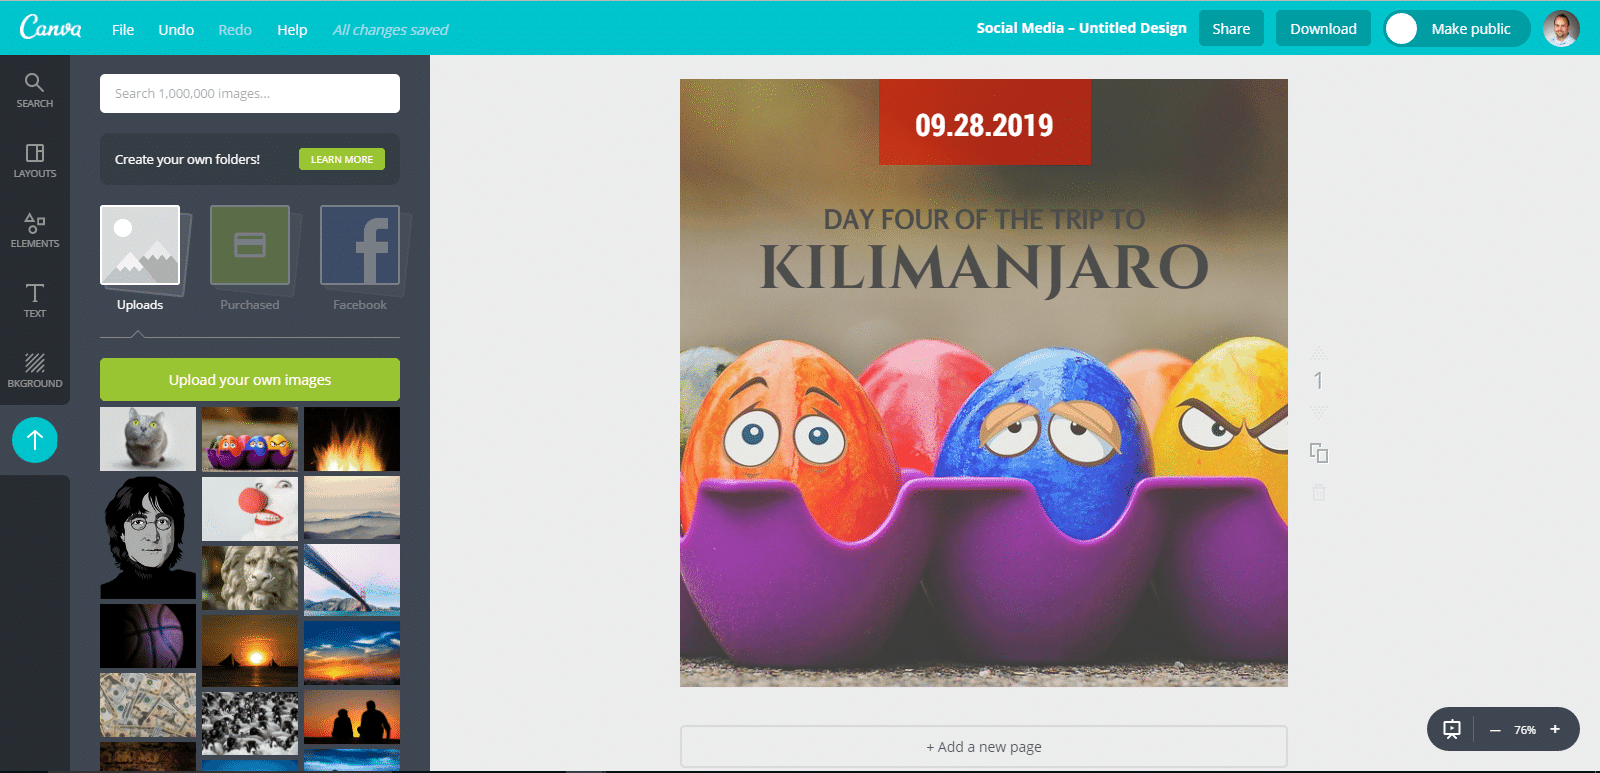
The quickest way to get started is to use one of the pre-made templates in Canva. Scroll through the options on the left and click on the one you like and it will be loaded onto the screen.
Let’s say this is the template I selected.
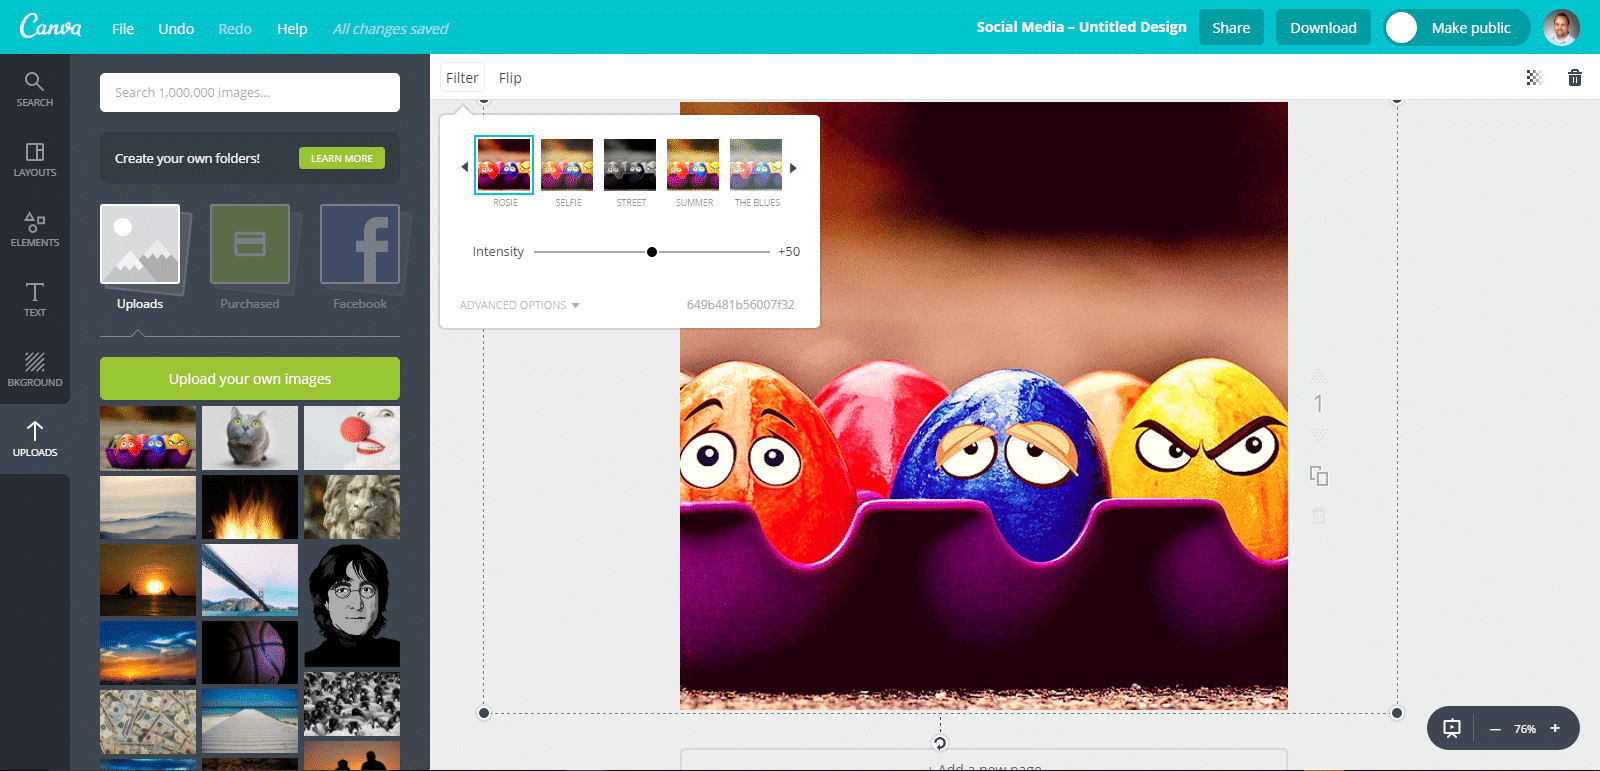
The first thing you will want to do is to add the image that you want to use for the background. To do this, you will click the “Uploads” button on the left and then browse your computer to upload the image you want to use.
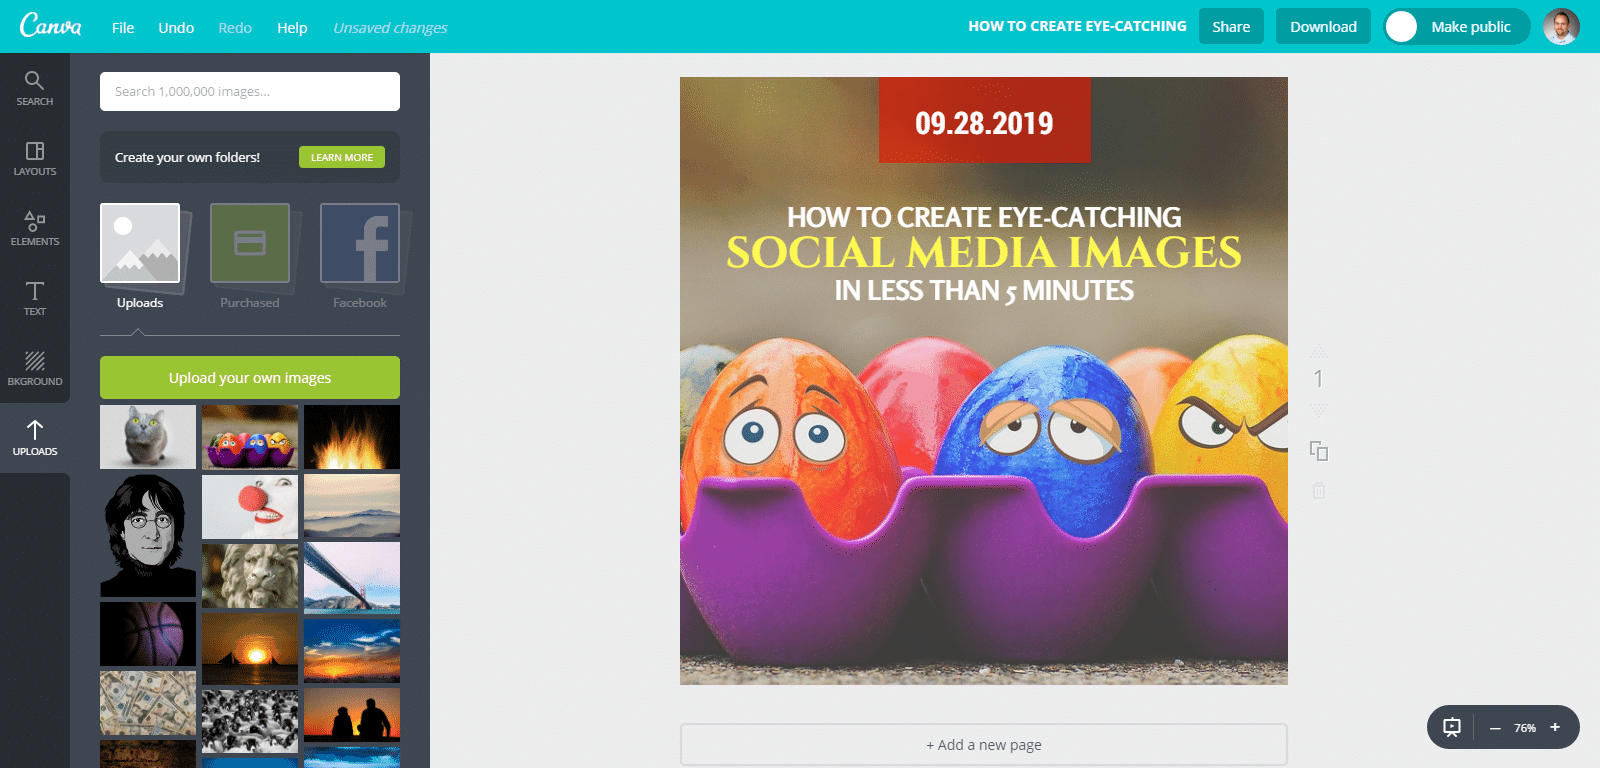
Then, simply click on the image you just uploaded and drag it over to the template. It should automatically stretch/replace the previous image.
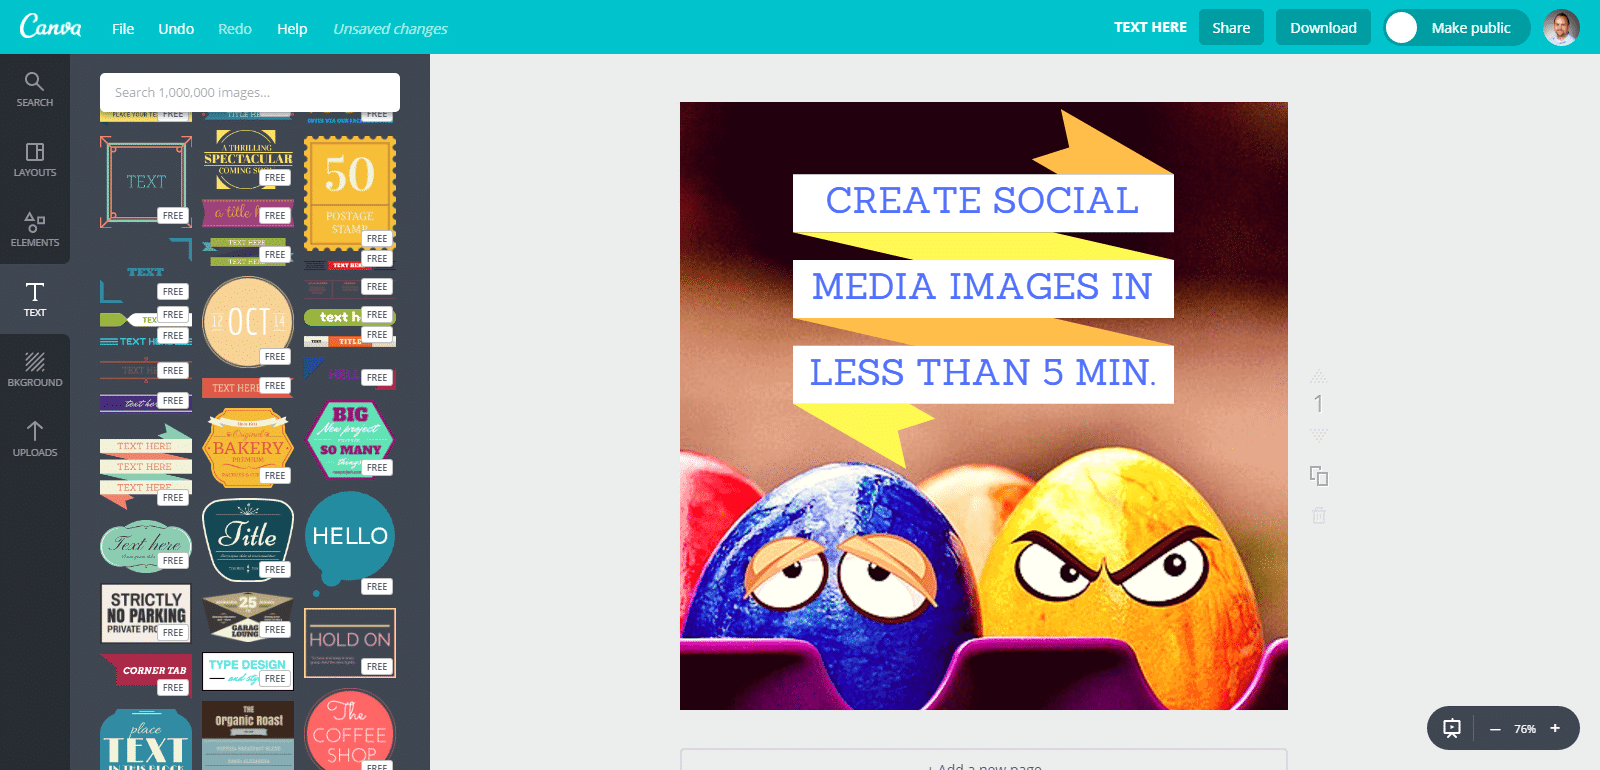
Next, you’ll want to start changing the text elements to reflect what you want it to say. Here you can also adjust font colors, font styles, and even the font sizes. To get started, just click on the text you want to edit.
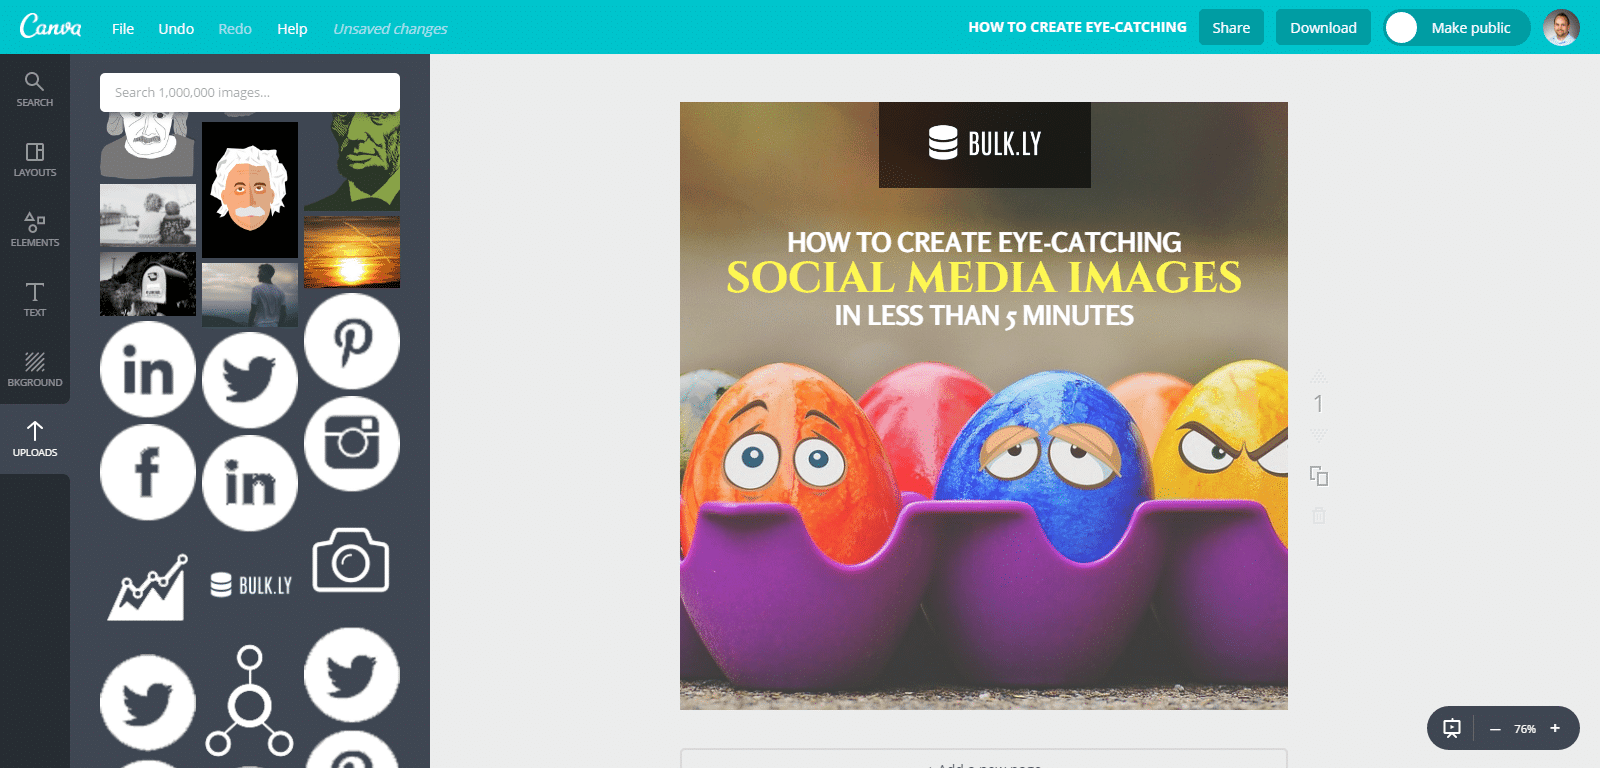
Then, give it a once over and make any last minute tweaks. For example, you might not be interested in using a date at the top…so you might decide to swap that out for your logo.
All that’s left is to save your image and download it by clicking the “Download” button in the top right of Canva.
Create Your Own Social Media Image Design
Using pre-made templates might not be for everyone. No sweat as you can build your own image from scratch with a blank canvas.
First, you will need to select the social media channel you want the image for. By default, Canva will load up a blank canvas.
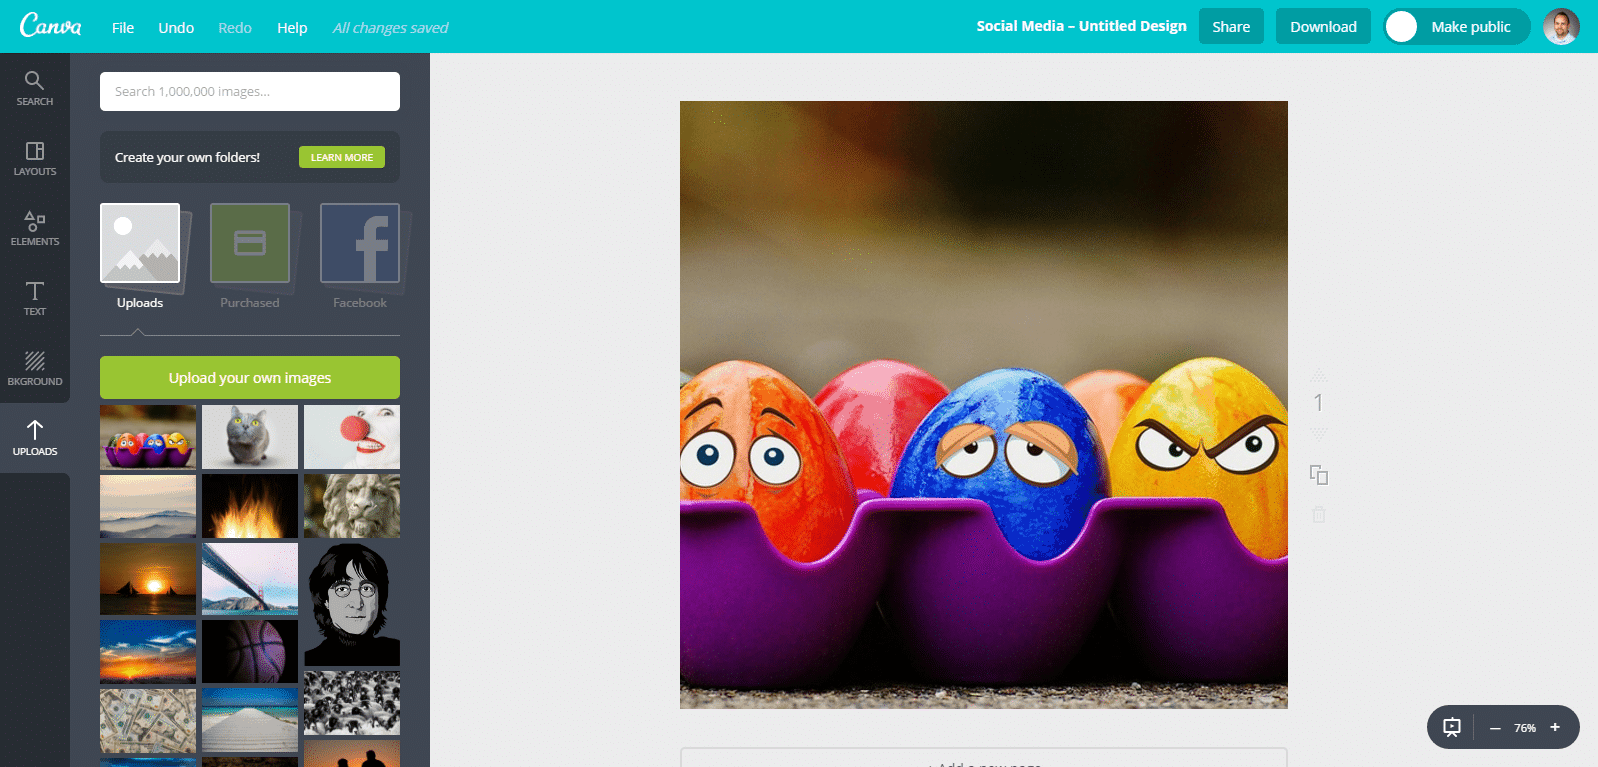
From here you might first want to add your background image. If you have not uploaded it yet, click on the “Uploads” link in the left menu and browse your computer for your image to upload.
Once uploaded, drag the image to your empty canvas.
You can adjust the appearance of this image by clicking on it. Once clicked on, you have several options appear such as filter, transparency, or even the ability to flip the image.
Next, you will need to add text elements to your social media image. Click on the “Text” link from the left menu and skim through the options to see what text layout might work best with your image and title. If necessary, you might need to use more than one text template.
Once you find the one you like, click on it and you can then position and edit it how you see fit.
You might find that you have to scale the size of your image or make a few tweaks to get it to all fit together nicely.
Once complete, save it and then download it.
How to Use Your Social Media Images Again & Again – Automatically
While you can definitely create some quick social media images in five minutes or less, that doesn’t mean you can’t look to use them again. And again. And again.
There’s no need to look at your social media images as a one-and-done use. Nope, instead you can set yourself up to give these images an evergreen life.
Interested?
Here’s how you can do it.
Recycle Your Social Media Images
You can easily recycle your social media images to be used again and again by using a combination of Buffer and Bulkly.
As you are probably aware, Buffer allows you to schedule your social media updates.
Bulkly, allows you to continuously send social media updates again and again to Buffer – automatically.
In order to recycle your social media image updates, you will need an account with both services.
I wont go through all the details of setting up and using Buffer, but I will provide some detail around how you can use Bulkly to add your social media images to Buffer automatically.
[yellowbox]Want to reuse your social media images automatically? Be the first to know when Bulkly is ready Click here to be notified. [/yellowbox]
Natively Attach Social Media Images to Continuously Post to Your Social Media Accounts
Before we go any further, the ability to natively attach images can depend on the social media channel you are using. For the purpose of this post, I’ll focus on Twitter.
To use Bulkly, you will need to connect your Buffer account and setup your Bulkly account. Any social media account you have connected to Buffer will be able to receive content from Bulkly.
Bulkly currently allows three different ways to add content to Buffer.
We will be using the “Content Upload” option to add these images to your Buffer account.
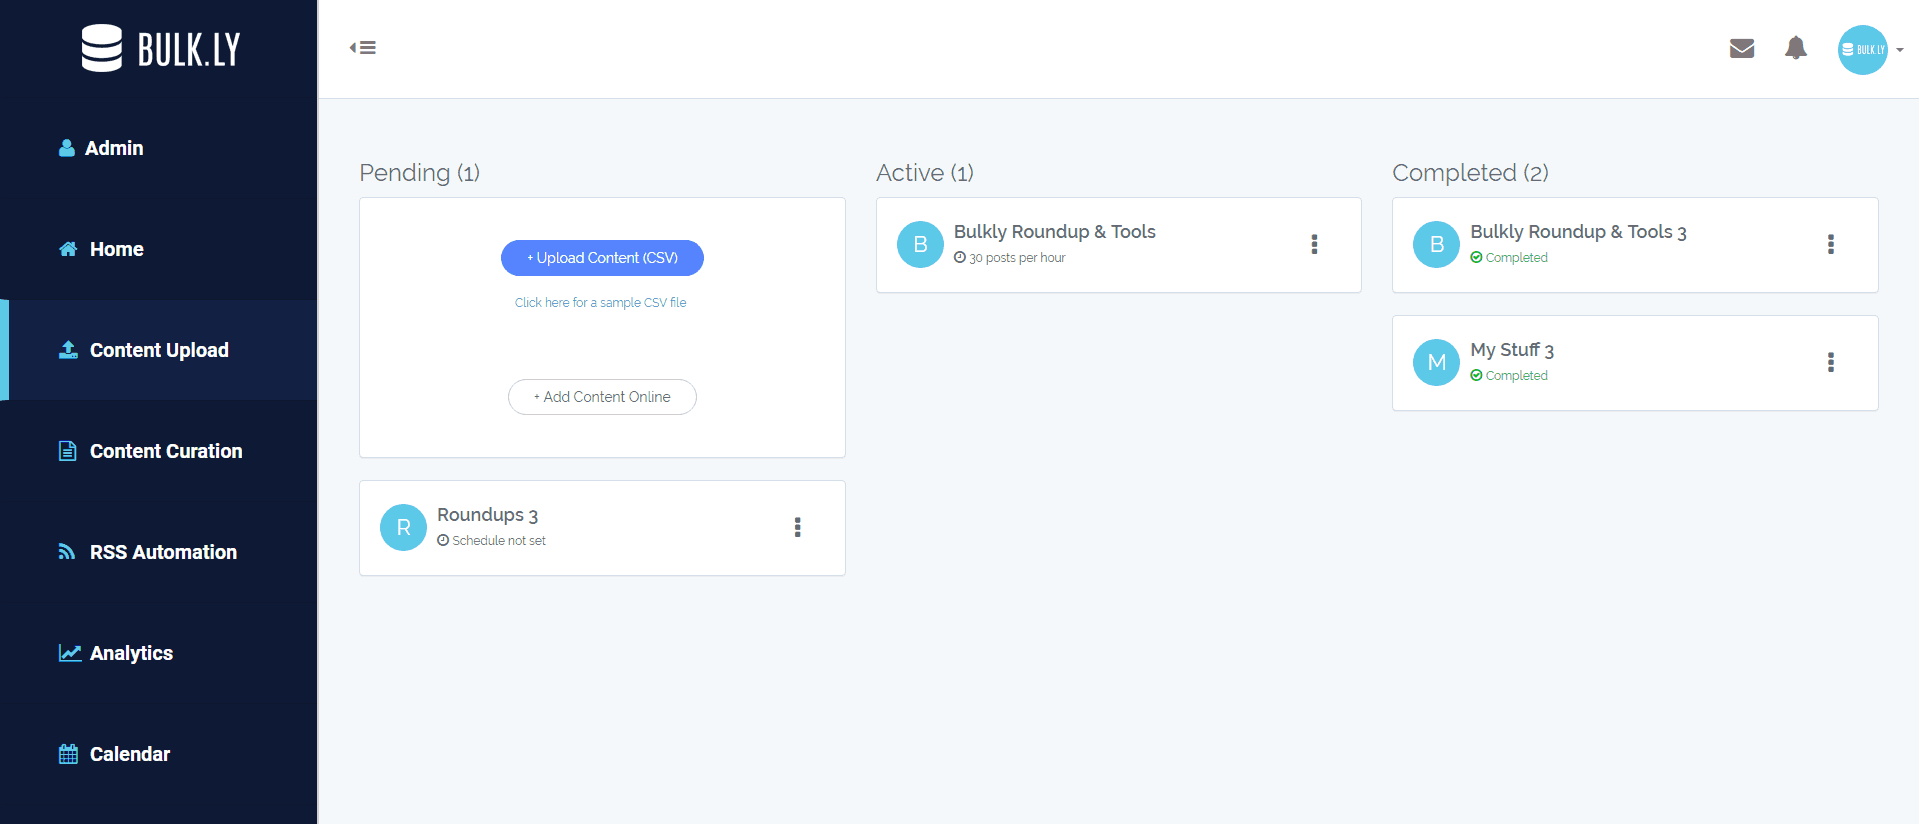
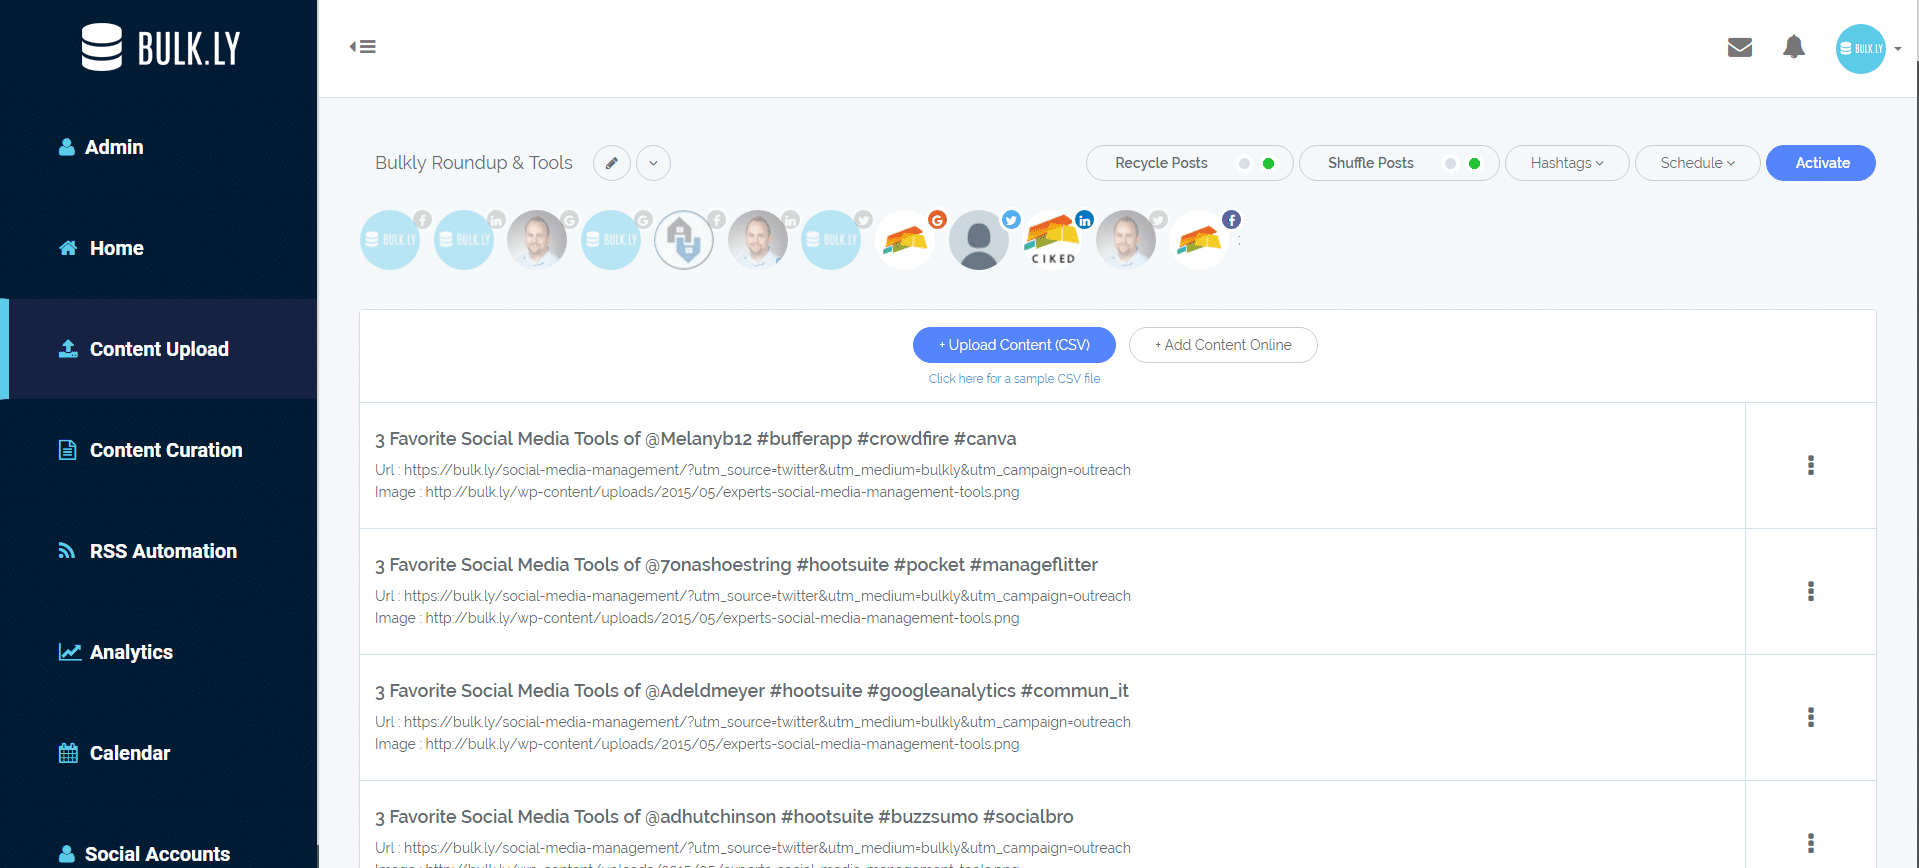
From your Bulkly dashboard, click on the “Content Upload” button.
You will be presented with two options.
- Upload Content (CSV)
- Add Content Online
Personally, I prefer using Excel to create my updates and then saving the file as a CSV to upload to Bulkly. Should you want to do the same, click the link to download the template CSV file to work off of.
Within the CSV, you will note there are four columns:
- Group – This column allows you to group your updates together. This is useful if you have image sizes for Twitter and want a separate group for images to use on your Facebook page. Simply use the same group name for each image that you want to be grouped together.
- Content – In this column you will enter any text you would like to use as well as hashtags if you would like.
- URL – This optional column is where you can add a link to be part of your social media update
- Image URL – The final column is where you will want to put in the full URL of the image you want to attach to the social media update. For example, https://bulk.ly/wp-content/uploads/2015/05/social-media-management-tools-for-twitter.png.
Once you have added all your updates and images, save your file – be sure you are saving it as a CSV file.
Then, visit your Bulkly dashboard and click the “Content Upload” button. Click the “Upload Content (CSV)” button and upload the CSV you just created.
[yellowbox]Want to reuse your social media images automatically? Be the first to know when Bulkly is ready Click here to be notified. [/yellowbox]
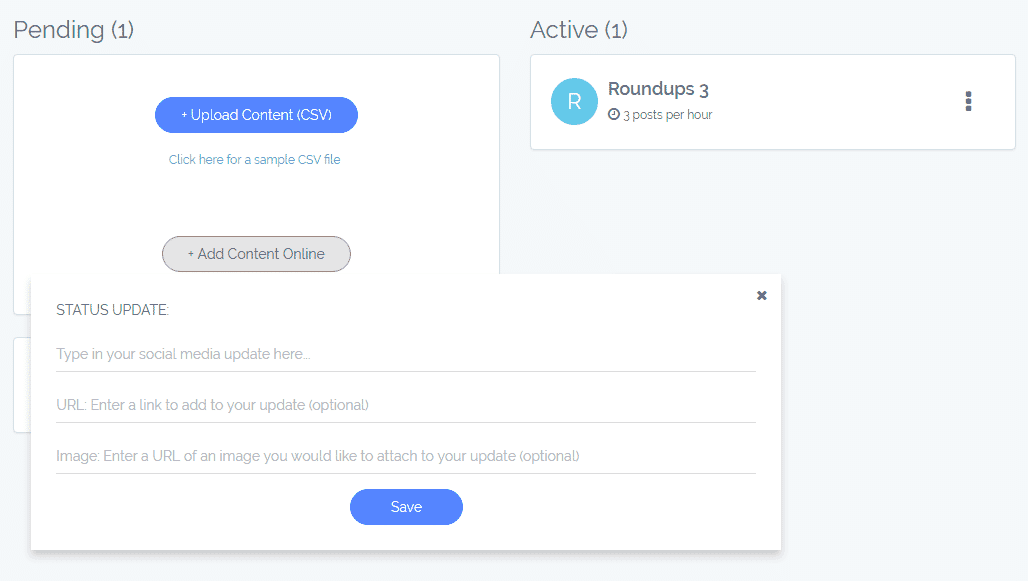
If you aren’t keen on using Excel, you can easily create your social media updates directly in Bulkly. To do this, click on the “Content Upload” option from your dashboard and then click the “Add Content Online” option.
You will then get an overlay to enter in your updates.
Type in (or copy/paste) your status update in the top line. On the second line enter a URL you want to link to in the update. On the last line paste in the URL to an image you would like to attach to the social media update. Please note that only the first line is a required field.
Once you are done, click on the “Save” button.
[yellowbox]Want to reuse your social media images automatically? Be the first to know when Bulkly is ready Click here to be notified. [/yellowbox]
The final step is to review all your uploaded social media updates and make any last minute tweaks.
Once you are ready, you will need to select which social media accounts you want to send the updates to as well as how often.
If you select the “Repeat Posts” option, then Bulkly will use these updates again and again at the time intervals you select. In the example above, you will see that I have selected 3 times a day.
This means that a post I have in this group will be sent about every 8 hours to my Buffer account. It will send the posts in the order they are listed and then when it reaches the end, it will start from the beginning.
Should you want a more organic approach, you can select the “Shuffle” option which will randomly pick an update to send to Buffer.
And finally, you need to select which Buffer accounts you want to send the updates to. If you would like, you can also add a hashtag that will be added to every post sent to Buffer from this channel.
Then click the “Activate” button and that’s it.
Bulkly, will automatically drip your social media image updates into your Buffer account.
[yellowbox]Want to reuse your social media images automatically? Be the first to know when Bulkly is ready Click here to be notified. [/yellowbox]
Here are a few examples where I have used Bulkly to natively attach images to my updates:
Heard of @evolve24, @hootsuite, or @peekyou? These are just 3 of over 500 different #socialmedia tools https://t.co/Es1pGJ2PB1 pic.twitter.com/wT9I9dfcbY
— Chris Makara 👽 (@ChrisMakara) October 4, 2016
Bulk Follow Twitter Users For Free https://t.co/9rvNScMQbC pic.twitter.com/V3z2Fo8EZc
— Chris Makara 👽 (@ChrisMakara) October 4, 2016
3 Favorite Social Media Tools of @YasmineTrulley #bitly #socialbro #hootsuite https://t.co/Cc09Ru45gP pic.twitter.com/J0mB11i6uZ
— Chris Makara 👽 (@ChrisMakara) October 2, 2016
Best of all, once you set this up – you don’t ever have to re-add old posts again. Bulkly will continuously post on your behalf until you turn it off.
[yellowbox]Want to reuse your social media images automatically? Be the first to know when Bulkly is ready Click here to be notified. [/yellowbox]
Increase the Life of Your Social Media Images
So let’s recap.
I showed you:
- The one tool you need to create social media images in minutes
- Two websites to find images for your social images
- How to set up your social accounts to reuse your social media images
When you put these three things into place, you will not only extend the social life of your images but also reap the benefits of implementing evergreen social media updates in your social strategy.
In the end, you are able to automate processes that continuously utilize work you have already done.
I’d say that’s a smart strategy to have.
What about you? Let me know in the comments if this is a strategy you will implement into your social media updates.
