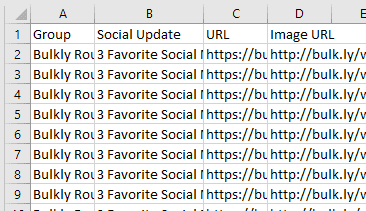
You can download a sample CSV file to get started. Additionally, you can build out your own as described below.

Bulkly accepts a CSV file that has the data in the following columns for Content Upload:
- Column A – This is the name of your group. Any row with this same group name will be added to the same group when uploaded to Bulkly (required)
- Column B – This column that is used for the text of your social media update
- Column C – Enter a URL in this column if you would like it to be added to your status update
- Column D – If you have an image you would like to attach to the update, please enter the full URL in this column
- Once your file is ready, save it as a CSV file and select it to upload by clicking the “+Upload CSV” button from the Content Upload Overview page.